In this Article + Video Series
Welcome to Commerce7: What to Expect During Onboarding
First Things First
Let's Get Started
- Book a kickoff call with your onboarding specialist. You will receive an email from them with a booking link, but if you have misplaced that email, feel free to reach out to Support and we will be able to help!
- Select a launch date. This is the date that all Onboarding tasks will work backward from.
- Engage with a Web Developer / Designer. These will be the people who integrate Commerce7 with your frontend website. If you don't have one in mind, not to worry! We have compiled a list of trusted Partners who we can recommend.
- Engage with a Data Migration Partner. If you are moving from another system, you'll want to work with a Data Migration specialist who is familiar with Commerce7. They will ensure that all data is mapped properly from your legacy system to Commerce7. We have several that we can recommend. Click here to learn more about the data migration process and a list of Partners we recommend.
Logging in and/or Resetting your Password
Logging in
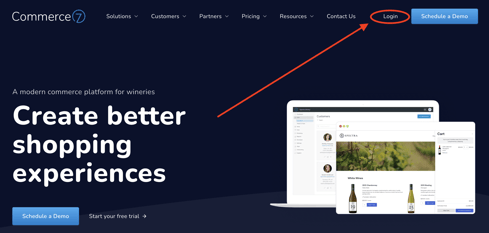
- Go to commerce7.com and click on the Login button in the upper right corner.
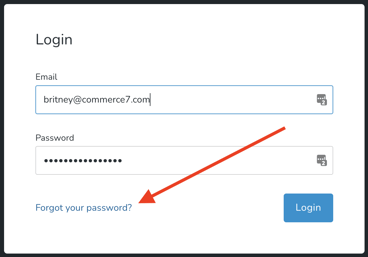
- To reset your Password, click the Forgot your Password link and follow the prompts.
Training for you and your Team
- Watch the training videos (prior to your scheduled Pre-Launch call).
Filling out the Payments/Gateway Form (so that you can take payments)
Depending on where you are located, take a look at the following to learn more about filling out your Payment Gateway form(s):
- United States or Canada? Learn more here.
- South Africa? Learn more here.
- Australia or New Zealand? Learn more here.
Website Design
Commerce7 provides 3 options for integration to your website.
- Customized Site (recommended): Our first option is to implement widgets that allow you to plug our ecommerce tools into any modern CMS Storefront (such as WordPress or Squarespace). This is the option we would recommend, as it gives you more control over your website look and feel - while still providing you with that great back-of-house management. Learn about the Customized option here.
- Commerce7 Storefront: This option is great for wineries who want to get online quickly and is easy to configure. Note that with this option, limited customization is available. Learn about the Storefront option here.
- Templates: If your website is in need of a refresh or if you don't yet have a website, using a template may be a great option for you. You can select a design built by one of our third party designers and they'll get you up and running in no time at all. If you need assistance, you can contact onboarding@commerce7.com
and we can get you connected with the template designer. To see a list of template options, click here.
Pro Tip: Learn about Cart Carrots and Personalizations. These are valuable features in Commerce7 that can (and should!) be added to your frontend.
Accessing and Working with the Setup Guide
Setup Guide
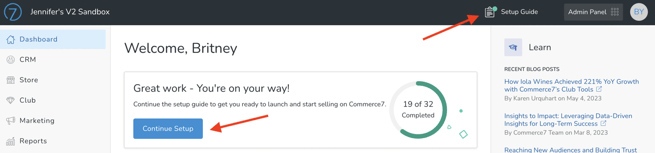
Until you are launched, you can always find your Setup Guide on your Dashboard or in the upper right corner of the Admin Panel.
For a full description of each item on the Checklist, click here.
Want to add POS, Reservations and/or Migration Checklists to your Setup Guide?Click here to learn how.
Important: When you have completed all tasks in your Setup Guide, you will see a blue 'Go Live' Button. When you are ready, click the Go Live/Enable Emails button. (Up until this point, Transaction Emails have been disabled for the exception of Password Reset and Magic Link). Once you click that button, any actions that trigger a Transaction Email will be sent.

Be sure to coordinate with your Designer/Developer on a Go Live launch date/time. You will want to be sure that all design/development is complete before going live.
TEST, TEST, TEST
Test your Workflows and Frontend Experience
- Test your Payment gateway, integrations, hardware and frontend experience. Take a look at this detailed checklist.
- Front-end not complete yet? No problem! Every Commerce7 account comes with a fully functional website experience. That means that you can test and configure your workflows even prior to your design being complete. Learn all about that here.
Pre-Launch Tasks
- Set up a Pre-Launch call with your Onboarding Specialist.
- Click the Go Live/Enable Emails button once you've completed the Setup Guide. Click here to learn more.
- Updating your DNS/SPF records to authorize C7 Transaction emails & Campaigns. Click here to learn how.
Prepping for Day of Launch
- Complete the Setup Guide by making sure all of the boxes are checked (if you have not done so already).

- Once all of the boxes are checked, you'll see a Congratulations message at the top of the Setup Guide.
- Click the Go Live & Enable Emails button (if you have not done so already).

- Reach out to your designer to coordinate timing for the launch (if you have not done so already).
- Communicate with your Data Migration Partner to complete any final data imports (if applicable).
Post Launch & How to get Support
- Book a post-launch call because often more questions arise one you start using the system
- How to get support:
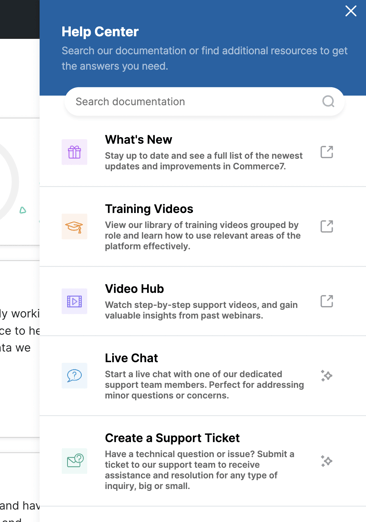
Click on the Support tab in the bottom left corner of the Admin Panel.
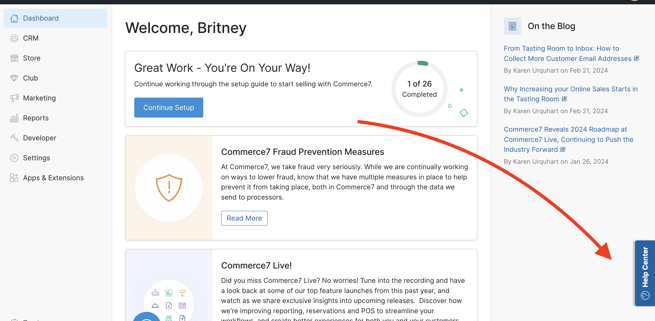
From there, you will be able to access our Knowledge Base, create a Support Ticket, contact the Support Team via Live Chat - plus other valuable resources.
-
To learn more about our Support options (including requesting a live screenshare), click here.
- Send a Welcome email to your Customers using the Campaigns tool. Learn how here.
You did it! Congratulations on your launch!