In this article:
- Adding and editing content blocks
- "Title" block
- "Product" block
- "Image" block
- "Coupon" block
- "Club" block
- "Call to Action" block
- Email template types
If you haven't already read about creating campaigns, you should start here.
Adding and editing content blocks
Editing blocks
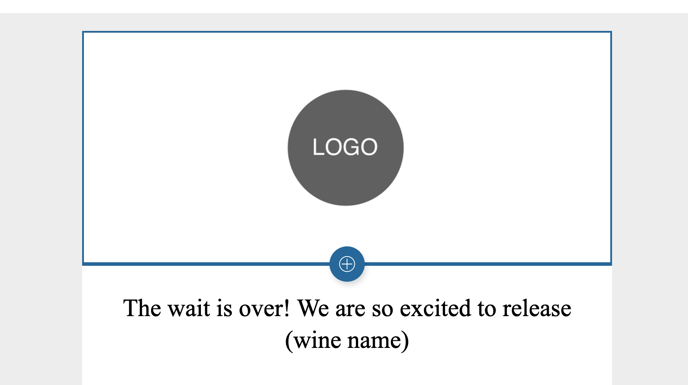
If you've chosen a pre-built template, there will be blocks already created for you.
- To edit any of the blocks, click on it.
- This will open up an editing section to the right of the screen. (Learn more about each block type below.)
.png?width=688&name=Commerce7-Edit-Welcome%20(3).png)
- Add content and make adjustments using the fields in the editing section.
Adding blocks
- To add a content block to an email template, hover in between existing content blocks (where you want to add the new content block).
- You will see a blue + icon appear.
- Click the blue + icon and the content block options will appear.
- Click the type of content block you want to add.
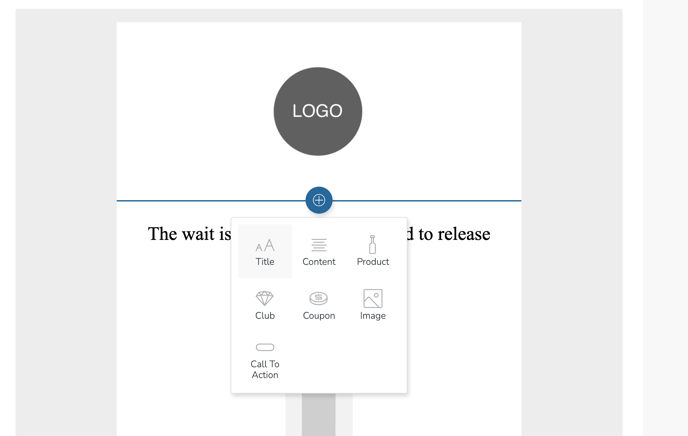
- You can then start editing the block on the right side of the page.
Moving blocks
- Click the content block you want to move.
- You'll see two new buttons appear to move or delete the block.
- Click and hold the button on the left ("up and down arrows") to drag the block up or down.
- Release when it is in the correct spot.
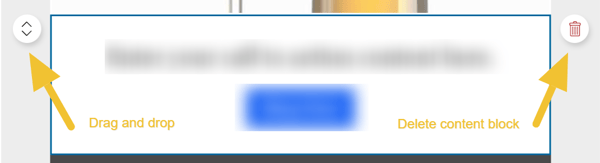
Deleting blocks
- Click the content block you want to delete.
- Click the "trash" button on the right.
- The block will be removed from the preview.
If you're currently editing that content block you might see an error at the top of the page that the block can no longer be edited. (This is normal.)
"Title" block
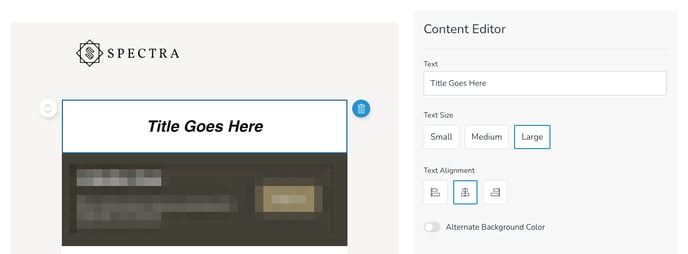
Use this block to add a heading to the top of your email, or to separate multiple sections of content. Once the block has been added, the details can be edited on the right.
- Content
- Alignment: Left or center aligned
- Text Size: Preset options of Small, Medium, Large. Medium and Large will use your Email Theme Heading Font and Small will use your Content Font.
- Alternate Background Color: Use the toggle to change your background colour from white. Your alternate background colour is managed under Settings > Email > Email Theme. The color of this text will always be white.
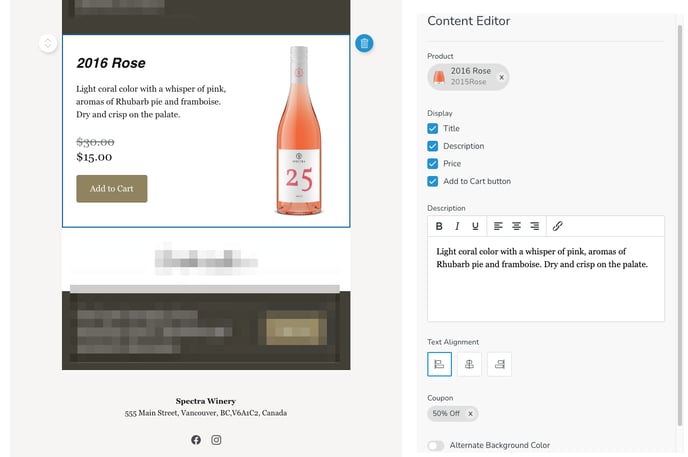
"Product" block
Use this block to highlight one or more products in your campaign, allowing the customer to add the product to their cart directly from the email. Once a product block has been added, the details can be edited on the right.
- Search for a Product you want to highlight
- Choose which product information you want to Display - Title, Description, Price, Add to Cart button.
- The Description field will automatically populate text based on the product you've selected, but you can edit the text if you want to.
- Text Alignment can be changed to Left, Center, or Right.
- Optionally search for a Coupon to add it to the email.
When a coupon is added, the product price will display with the original and discounted price and will auto-apply to the order when the customer clicks "Add to Cart". (As long as they qualify for the discount.) For more information on how discounts work with Campaigns, click here. - Alternate Background Color: Use the toggle to change your background colour from white. Your alternate background colour is managed under Settings > Email > Email Theme.
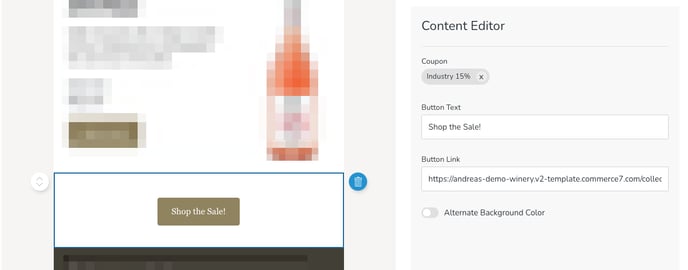
"Coupon" block
Use this block to auto-apply a coupon to the customer's cart when clicked.
Once a coupon block has been added, the details can be edited on the right.- Search for an existing Coupon.
When a coupon is added, the product price will display with the original and discounted price and will auto-apply to the order when the customer clicks "Add to Cart". (As long as they qualify for the discount.) For more information on how discounts work with Campaigns, click here. - Add the text to appear for the button in the Button Text field. The button color is controlled under Settings > Emails > Email Theme.
- Add a Button Link for where the customer should be taken when they click the button.
- Alternate Background Color: Use the toggle to change your background colour from white. Your alternate background colour is managed under Settings > Email > Email Theme.
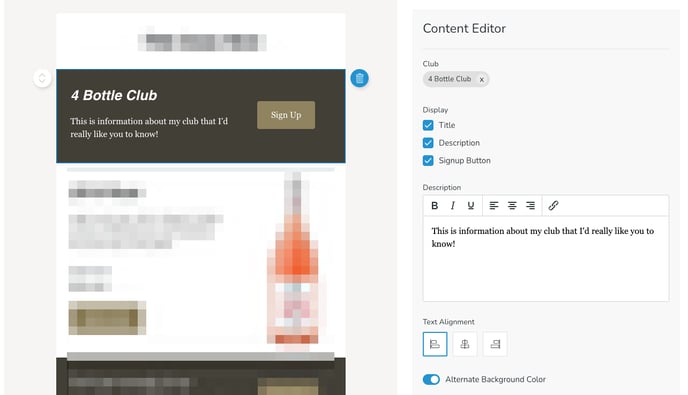
"Club" block
This block is great to use and send to customers who aren't club members. Create an actionable banner and link a button straight to the signup page for one of your clubs.
Once a club block has been added, the details can be edited on the right. Add content and make adjustments using the fields in the editing section.- Club: Use the search bar to type the title of an existing club.
- Display: Check the appropriate boxes depending on what you want to display.
- Description: Add any content you want to display under the title.
- Text Alignment: Choose Left, Center, or Right.
- Alternate Background Color: Use the toggle to change your background colour from white. Your alternate background colour is managed under Settings > Email > Email Theme.
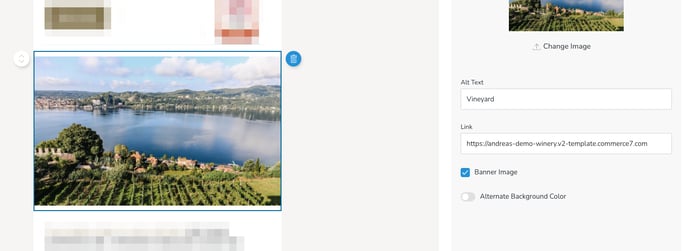
"Image" block
Use this block to add images to your email. Once an image block has been added, the details can be edited on the right. Add content and make adjustments using the fields in the editing section.
- Upload an Image
- Update the Alt Text and a Link where the image should go when clicked.
- Banner Image: Check this box if you want the image to not have extra space on the left and right.
- Alternate Background Color: Use the toggle to change your background colour from white. Your alternate background colour is managed under Settings > Email > Email Theme.
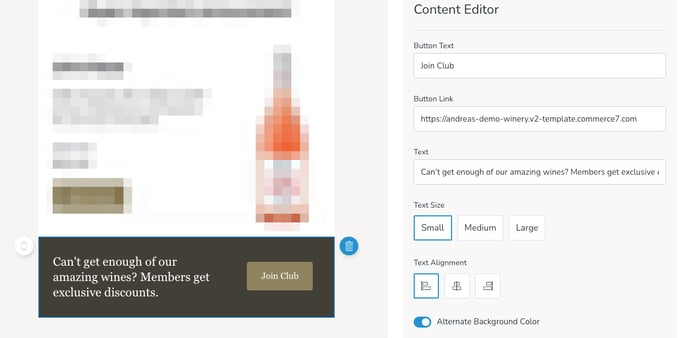
"Call to Action" block
Use this block for a general banner with a call to action. The button can be linked anywhere on your website. You could highlight an upcoming event or club membership information (if you want to link to signup, you should use the "club" block) or anything else!
Once a call to action block has been added, the details can be edited on the right. Add content and make adjustments using the fields in the editing section.- Button Text: add the text you want to appear on the button. The button colour is controlled under Settings > Email > Email Theme.
- Button Link: Enter the URL of the target page where customers will land after clicking the button.
- Text: Enter the call to action message that will appear of the button.
- Text Size: Choose Small, Medium or Large to change the size of the call to action message. Small will use your email theme's "Content Font", while Medium and Large use your "Heading Font".
- Text Alignment: Align the text and call to action button to the Left, Center, or Right.
- Alternate Background Color: Use the toggle to change your background colour from white. Your alternate background colour is managed under Settings > Email > Email Theme.
Email template types
For information specific to each type of template, click on the template below:
- "Welcome" Template
- "Product Launch" Template
- "Sale" Template
- "Shop Now" Template
- "Build Your Own" Template
Designers cannot edit or create custom email templates within Campaigns.