In this article:
What is the theme builder?
The email theme builder allows you to edit the style for your emails to make them more cohesive with your brand. You can adjust the background color, edit the button colors to match your website, select the fonts, and more!
Your email theme will be used for all transaction emails and campaign emails sent to customers from Commerce7. Transaction emails are sent to customers when they take an action such as placing an order or creating an account. Campaigns is an email marketing tool that you can leverage to send newsletter or product announcement to your customers.
Editing your email theme
Watch the tutorial or follow the steps to learn more about editing your email theme through the theme builder.
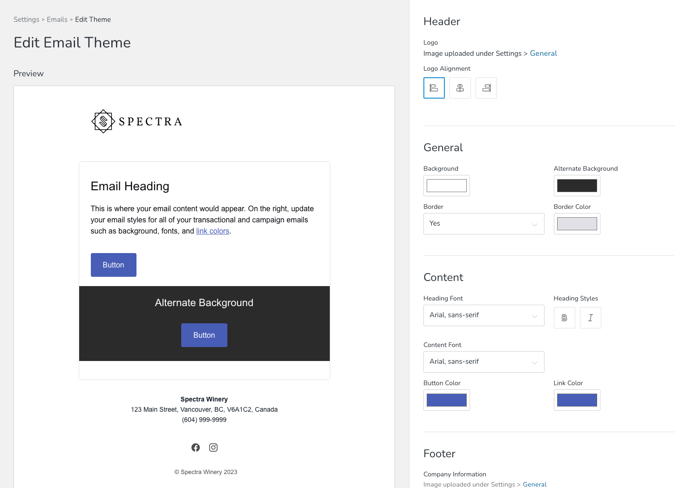
- In Admin, go to Settings > Emails and click Edit Email Theme at the top right.
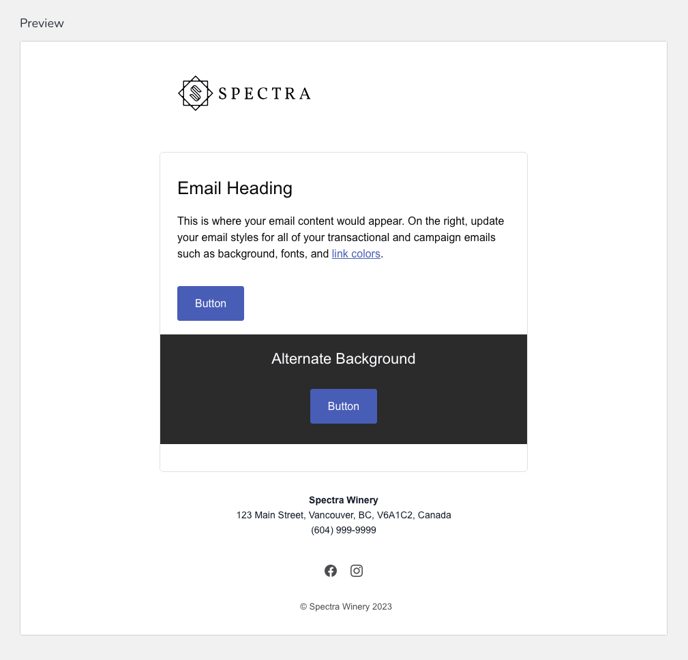
- On the left, you'll see a preview of your email theme. The content here is just to show you what the design will look like so it can't be edited.
- On the right, you'll see sections for Header, General, Content, and Footer where you can edit your email settings. As you make changes to the settings, you'll see the preview update automatically to you can see what they'll look like.
- Header
- Logo: The logo automatically uses the file uploaded under Setting > General. Keep in mind if you want to change it, that this is also the logo used for your website Checkout page.
- Logo Alignment: Update the alignment for your logo to Left, Center, or Right.
- General
- Background: The background color of the email itself. (Currently, the background behind the content cannot be changed from white.)
- Alternate Background: This is used for Campaign emails only. When creating a campaign email it can be toggled on and off for different sections of content that you want to stand out.
- Border: Choose if you want a border to display around the email content.
- Border Color: If you chose to have a border, you have the option to adjust the color.
- Content
- Heading Font: Font used for headings (such as Heading 1, Heading 2, etc.).
- Heading Styles: Click the "B" button if you want your headings to be bold and "I" if you want your headings to be displayed in italics. (Please note that some smaller headings in transactional emails are automatically bolded to stand out for customers.)
- Content Font: Font used for main content.
- Button Color: Background color for buttons.
- Link Color: Text color for links. Make sure you select a color that stands out and is dark enough to read.
- Footer
- Company Information: Select if you'd like to display your address and/or phone and/or privacy policy in the footer. This information is pulled from Settings > General and cannot be edited per email.
- Social Links: Click to add a social link for Facebook, Instagram, or Twitter.
- Header
- Once you're happy with your changes click Save Theme.
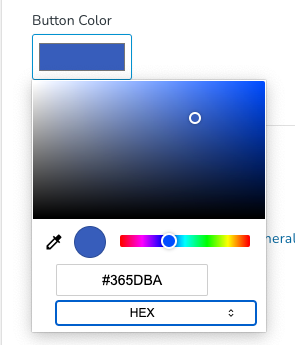
Tip: Using hex colors with the color picker
If you have a hex color for your brand that you'd like to use, click to open the color picker, then click on the RGB until the HEX option appears. Now you can type in your specific color.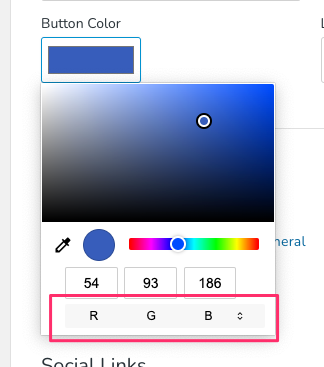
Testing your theme
While you're in the theme builder, you can already see a preview of how your emails will look, but if you want to see your theme in action, the best way would be to perform an action (like a customer would) on your website.
For example, if you go to your website and click Login then Create Account, fill out the information with your email address and then you'll receive the "Account Confirmation" email. If you place a test order, you'll receive the "Order Confirmation" email, etc.
Please keep in mind that your account must be live to receive emails. We don't allow clients who are onboarding to send emails. This is to avoid accidentally sending out emails prior to launch.
FAQs
- Can I add custom CSS?
No, there isn't a way to add custom CSS. While we may add more settings in the future, if you'd like a completely custom header or footer, you can always get a developer to create a custom email template for you. Once a custom template is created, it can be selected and applied to any email under Settings > Emails > Transaction Emails. - Can I add more font options?
Currently these are the only font options available. Email clients are tricky when it comes to fonts. For example, if we allowed custom fonts, Apple Mail would display it, but Gmail and Outlook wouldn't. The fonts that we have are supported for more email clients to ensure a consistent experience. If you still want a custom font to display, even if it's only for some email clients, you can get a designer to create a custom email template for you with your font. - How does the Theme Builder work if I'm using custom email templates on my transaction emails?
If a custom template is selected on an email, it will continue to be used, but you'll still want to adjust your email theme since some of the styles for the content like the button color and fonts will be used for any Commerce7 content that is output through variables like {{orderSummary}}. Make sure you edit the settings under the "Content" heading in the theme builder.