There may be times when you use the External Payment Method for Orders. Here's how you can track those.
In this Article
Creating Order Custom Fields Options
How to Add Custom Fields to POS an Inbound/Admin Orders
How to Report External Payments using Tags
Creating Custom Fields Options for External Payment Methods
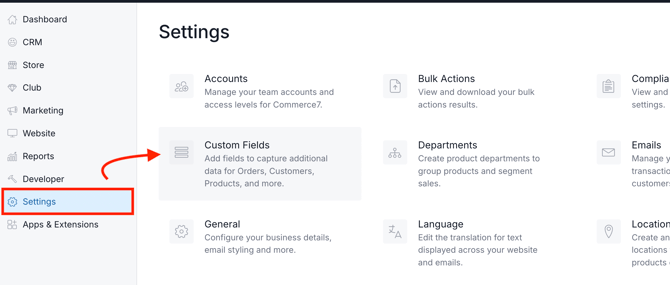
- To create an attribute for an Order, navigate to Settings > Custom Fields.
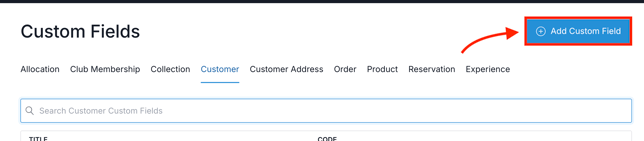
- Click Add Custom Field.
- Choose 'Order' in the popup modal.
- Enter a Title (example: 'External Payment Method').
- Choose Data Type = Checkbox.
- Enter in the Payment Method options.

- The Sort Order determines the sequence in which your Order Custom Fields options will be displayed on the Cart page. This comes into play when capturing multiple Custom Fields. (If Sort Order is set to 1, that option will be the first choice for your staff).
- Leave Required Field = unchecked.
- Click the Save Order Custom Field button.

How to add Custom Fields to POS and Inbound/Admin Orders
- In the POS Cart, choose the down arrow > Additional Order Info.

- In the popup modal, scroll down to your Custom Fields choices.
- Make your choice and Save.

- Process the External Payment as normal.
- Now when you View the processed Order, you will see the Custom Fields captured under the Custom Fields tab.
- You can also add Custom Fields to a processed Inbound/Admin Order by click on the Custom Fields Tab and manually choosing the applicable option.

Do you need to take this action for every POS Order?
If necessary, you have the option to set up the POS Profile to automatically display the 'Additional Order Info' modal when you click the Pay button. This feature ensures that the modal pops up without any extra steps required.


Reporting on Custom Fields Using Dynamic Tags
First Things First: Set up Dynamic Tags
The first step is to set up Dynamic Tags: You can set up Dynamic Tags using Custom Fields conditions. (Learn how to create Dynamic Order Tags here).

Now that Dynamic Tags are set up, you have a few reporting options:
- Option 1: Filter by Tag in Order Exports (Learn more about Order Exports here).

- Option 2: Sales Summary (Learn more about the Sales Summary report here).

- Option 3: Order Queries (Learn more about Order Queries here).
