Collateral product type allows you to set up a zero dollar piece of collateral that is added to an individual order or club shipment.
For example create a Collateral product for a newsletter for orders or club packages if your fulfillment company can't dynamically inject a newsletter.
Customers cannot see collateral SKU's once added (including order confirmations or receipts). They also do not count when calculating coupons for quantity requirements or minimum dollar requirements and they also won't affect cart size when customers are editing their club packages.
Setting up a Collateral Product
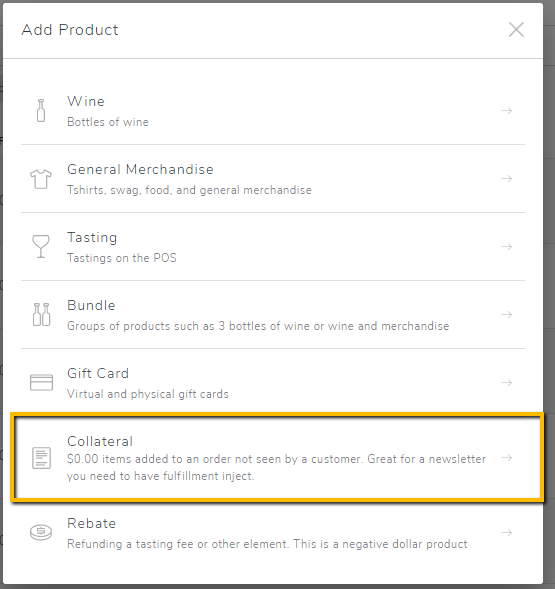
Under Store > Products, select "Add Product".
Select the Collateral product type.
Title: Add the title of the product
Subtitle: Add subtitle of the product (if applicable)
Teaser: This will not be needed for this product type, as this product will not be displayed on the website.
Content: This will not be needed for this product type, as this product will not be displayed on the website.
Photos: Upload the image for this product. (Optional)
Variant Title: Enter the variant title(i.e. Each).
SKU: Enter in your SKU number (if you're connected with ShipCompliant, your SKU in Commerce7 must match with your SKU in ShipCompliant).
UPC Code: If using an integrated bar code scanner in your tasting room, click on the "UPC Code" field, and scan a product's barcode to automatically populate the product's UPC Code. You must click on the actual field in order to scan in the code. If you are on a product page and have not clicked on the UPC Code, scanning a barcode will not populate the product's UPC Code.
Price: This will be $0 for this product type.
Compare at Price: This will not be used as collateral products should always be $0.
Cost of Good: This will not be used as collateral products will be $0.
Tax Type: Collateral product types should be set as NonTaxable.
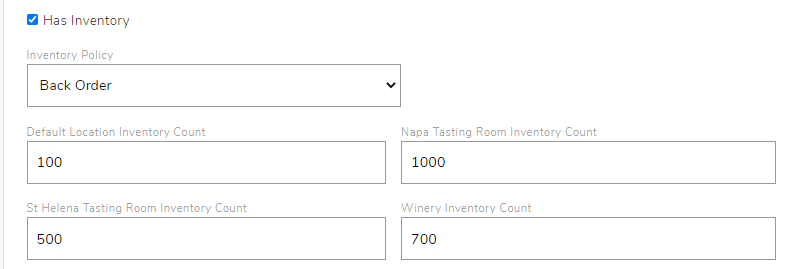
Has Inventory: Check this box to initialize inventory if you are managing inventory for this product in Commerce7. Set up the inventory policy as either "back order (customers can continue to purchase this product even when inventory is depleted), or "don't sell" (customers can no longer purchase this product when inventory is depleted).
Shippable Product: Check this box if this product if you want shipping costs to be calculated for this product, and if you want the product to be sent to ShipCompliant and to fulfillment. Read more about Shippable Products here.
Weight: Enter the weight of the product. If shipping charges won't be charged for this item, enter 0 for weight.
Add Additional Variant: If you are setting up multiple sizes or options for this product, add an additional variant for the new size, complete the details for the additional variant, and save the variant details.
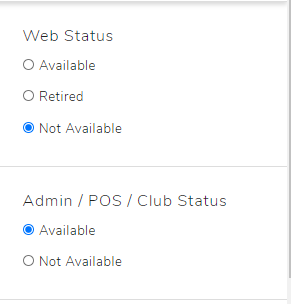
Web Status: This is the status of the product on your website. Collateral product types should be set to Not Available.
Admin/POS/Club Status: Choose Available for this status. The options are:
- Available - Visible on Admin/POS/Club as a product you can 'Add to Cart'.
-
Not Available - Not visible and can not 'Add to Cart' on the Admin/POS/Club.
Read more about the differences of Available, Retired, and Not Available statuses here.
Department: Choose the department that your product belongs to. These are set up under Store > Departments. Read more about departments here.
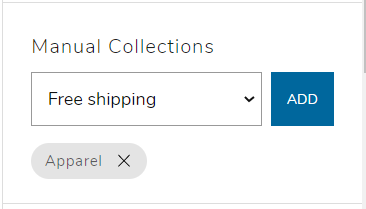
Manual Collections: If using manual product collections to assign products to collections on POS, choose the collection that you want your product to be displayed on and click "Add". A product can be displayed on multiple collections.
Product Template: This area can be ignored as collateral products will not be displayed on your website.
Security: Products can be secured to club, tags, allocation or loyalty tiers. For more information about how securing a product works, click here.
This field will become relevant if you create an allocation and include this product in that allocation. In this scenario, the allocation should be set up before you adjust the "security" field.
Once you are finished, Save Product.
Want to duplicate a product that is already setup? Learn how to duplicate products here.