As of April 2024, this device is discontinued and cannot be ordered. We are maintaining this article for any customers who purchased this device prior to April 2024.
Note: These instructions are only for the wired Verifone Mx915. Click here for documentation on other terminals. Your terminal is required to be plugged in to power and ethernet at all times.
Setup
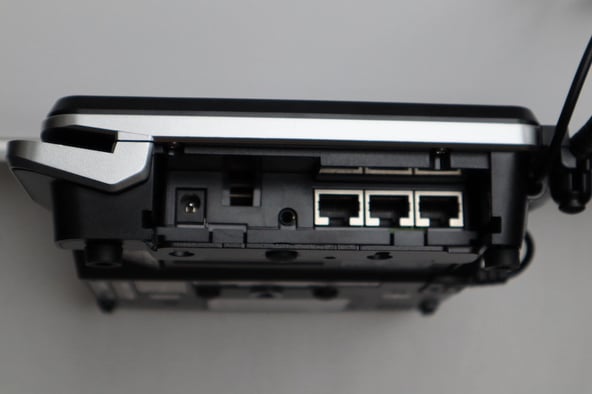
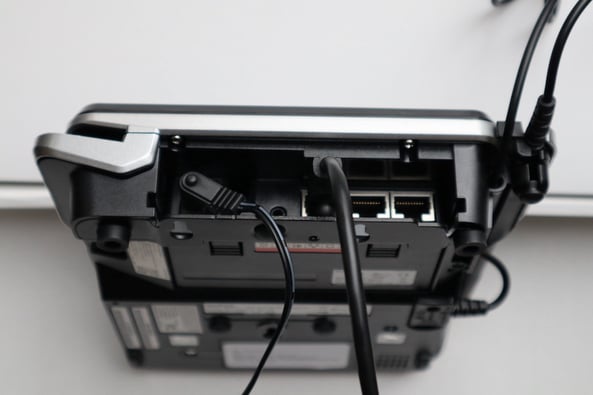
- On initial setup, note that you will need to insert the Ethernet connectivity adapter (pictured below) into the terminal device, make sure it clicks into place. Follow the diagram on the adapter’s label to show which port to use for Ethernet connectivity, also make sure your power adapter cord stays firmly plugged in.
- If you have a Firewall, ensure port 9001 is open
- Connect the terminal to the network via Ethernet connection.
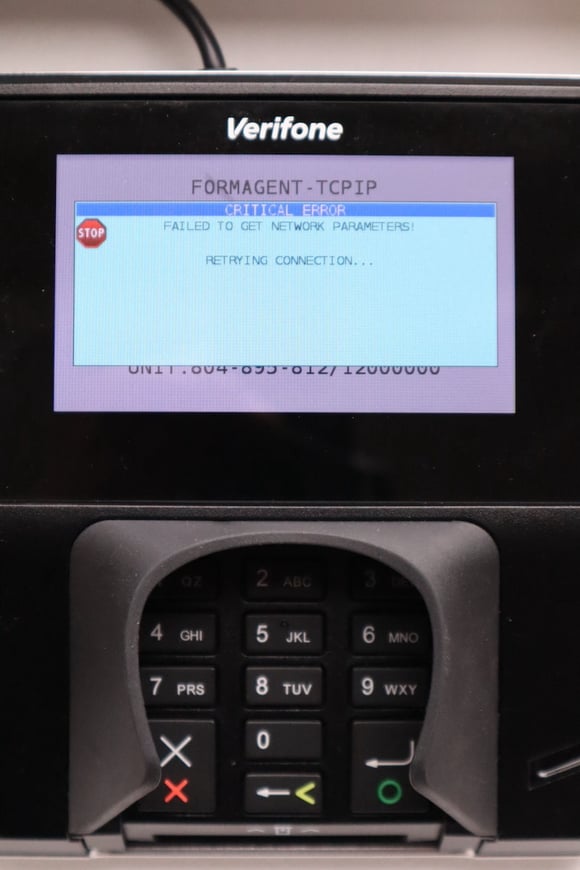
The terminal may show a critical error if the ethernet is in the wrong port, or if you have the 9001 port closed.
- Once the device boots up, you will see an activation code on the screen.
-jpg.jpeg?width=429&name=mx915_initial_activation%20(1)-jpg.jpeg)
- Activate the terminal through MerchantTrack
Activating the Terminal
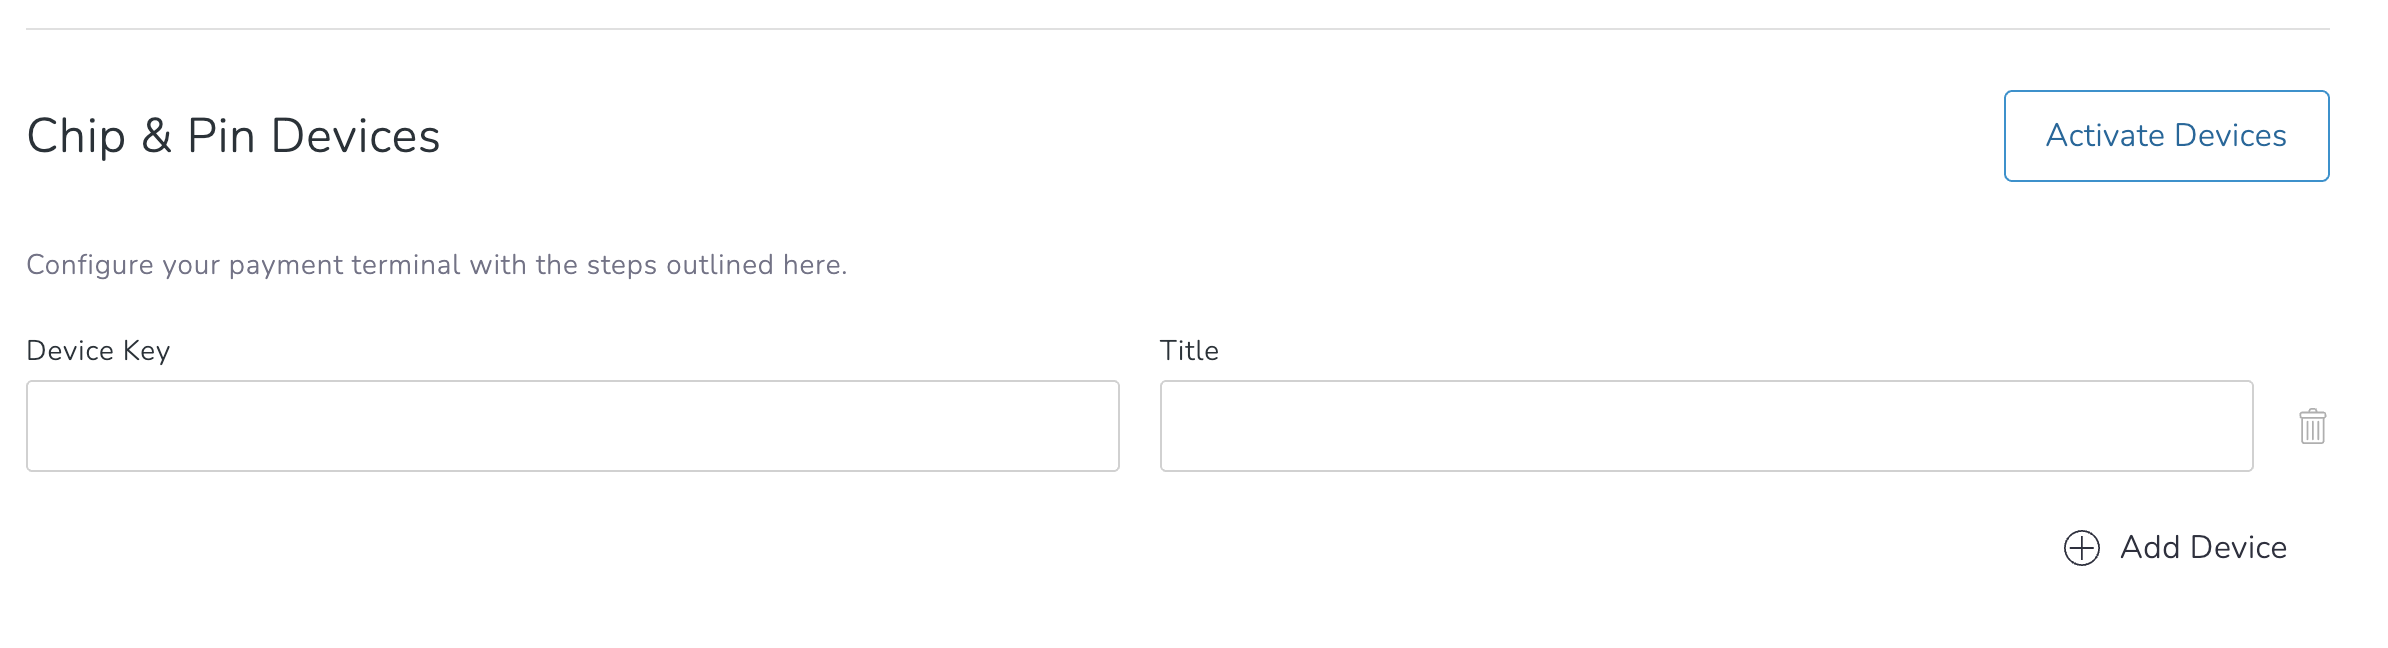
- In Commerce7 under Settings > POS Profiles - open a profile and scroll down to Chip and Pin Devices and click Activate Devices.
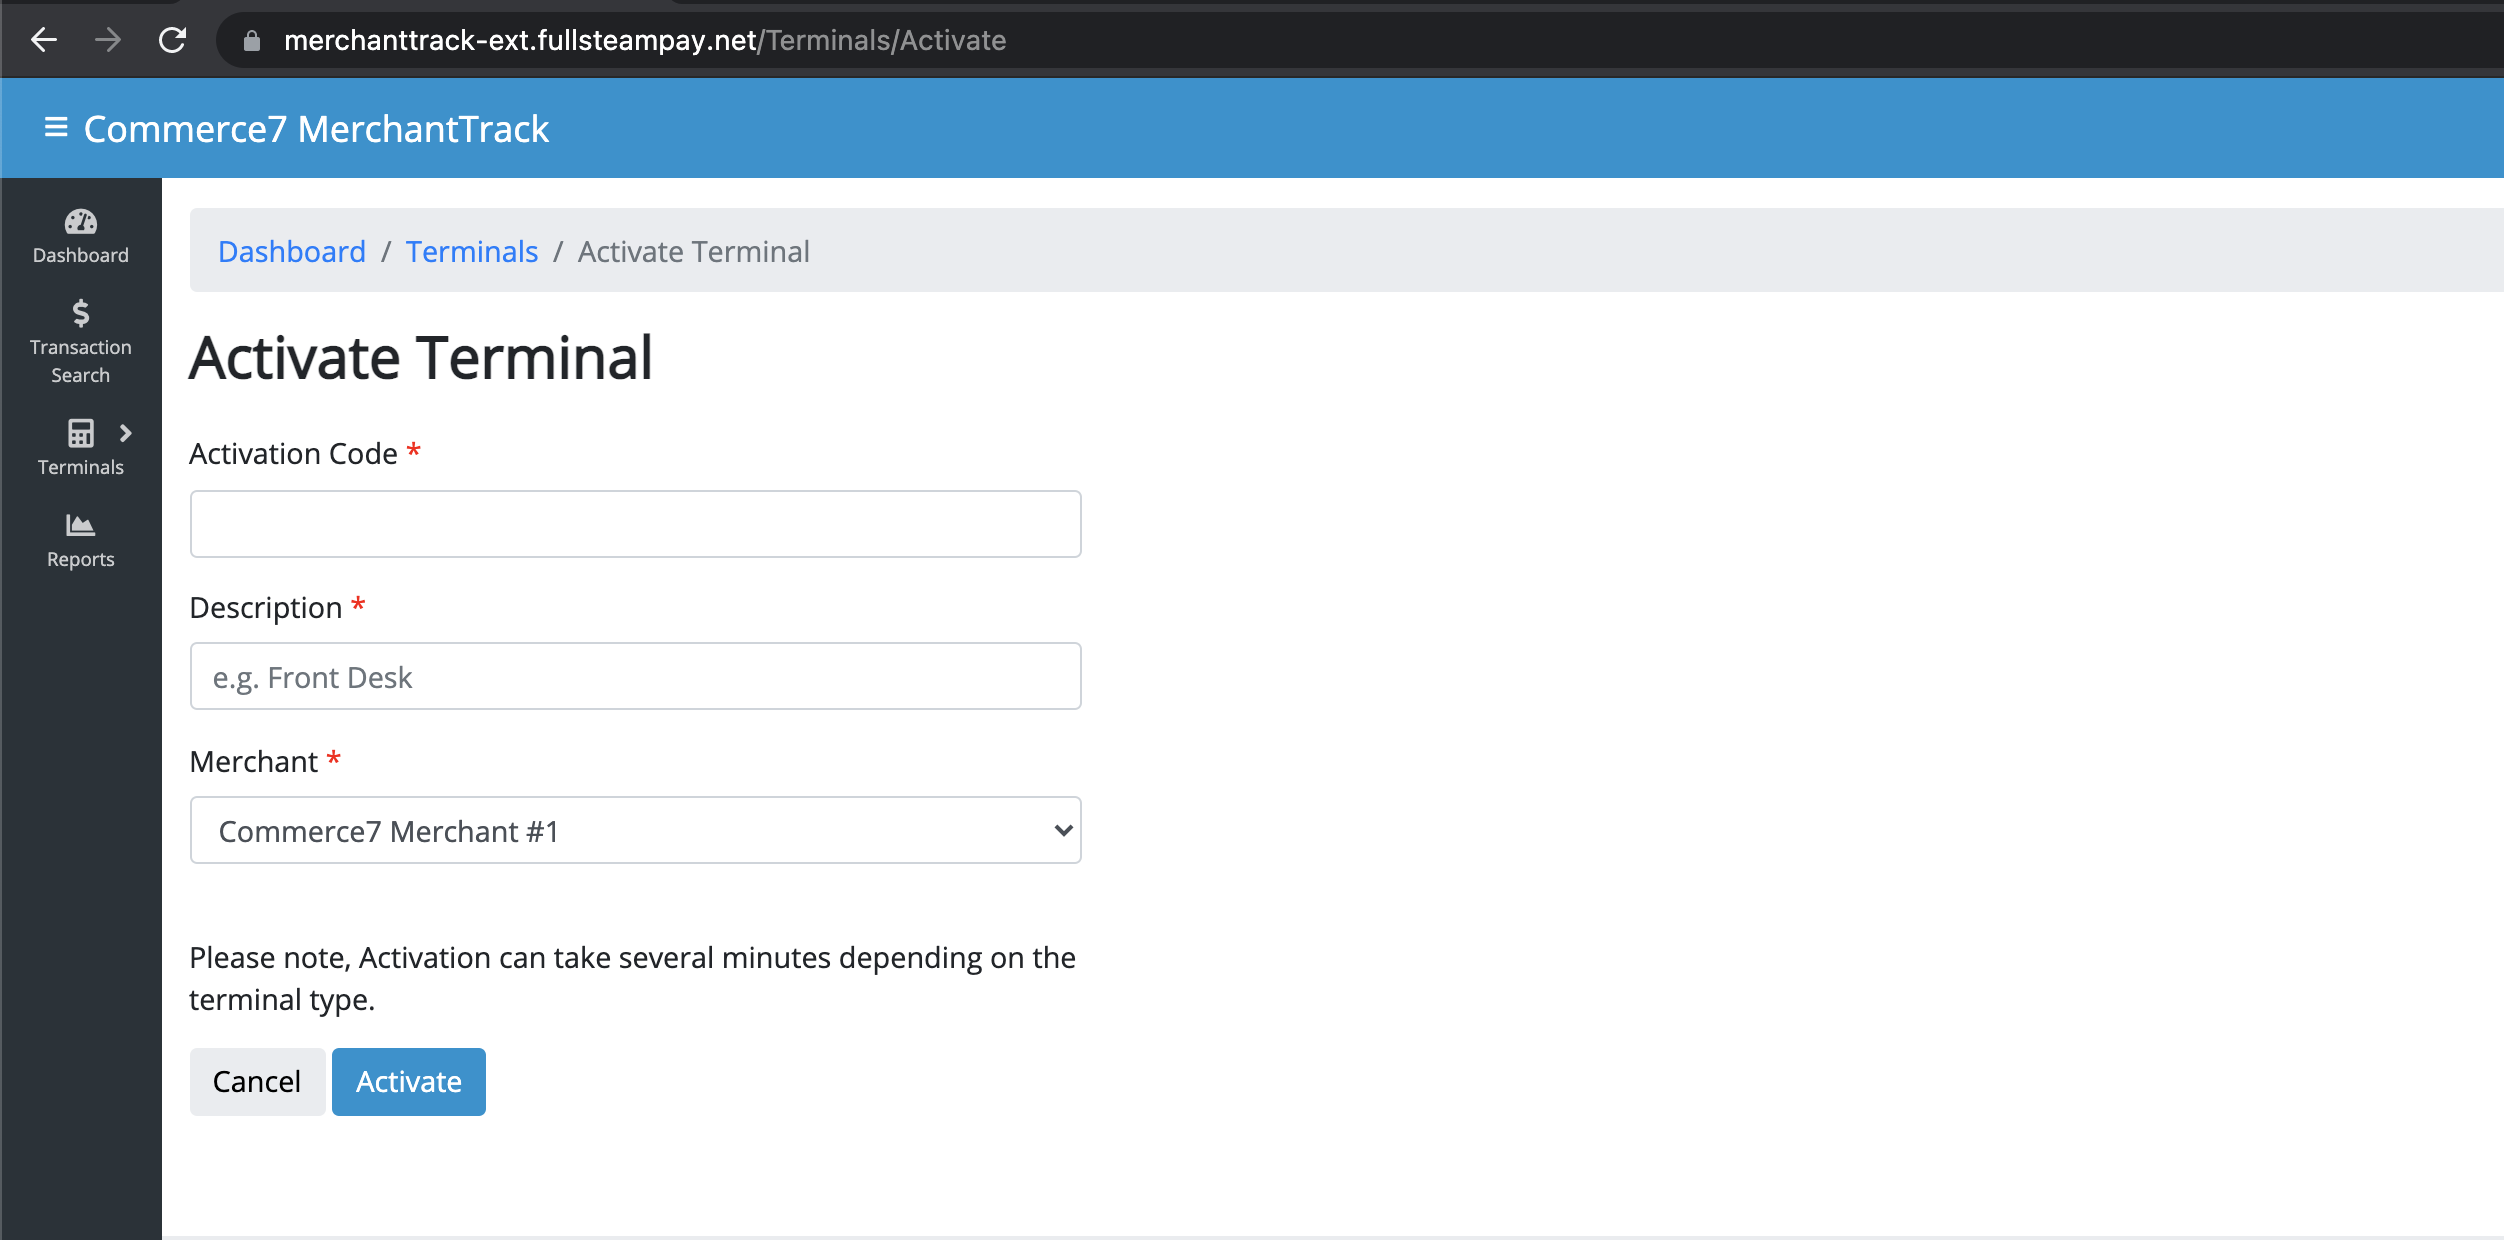
- Clicking Activate Devices - this will take you to Merchant Track > Terminals > Activate
- If you receive a "The PhoneNumber field is required" error, it just means that you need to add a phone number to your User Profile. Click here to learn how to do that.
- Enter the Activation code that you saw on the device earlier and click Activate
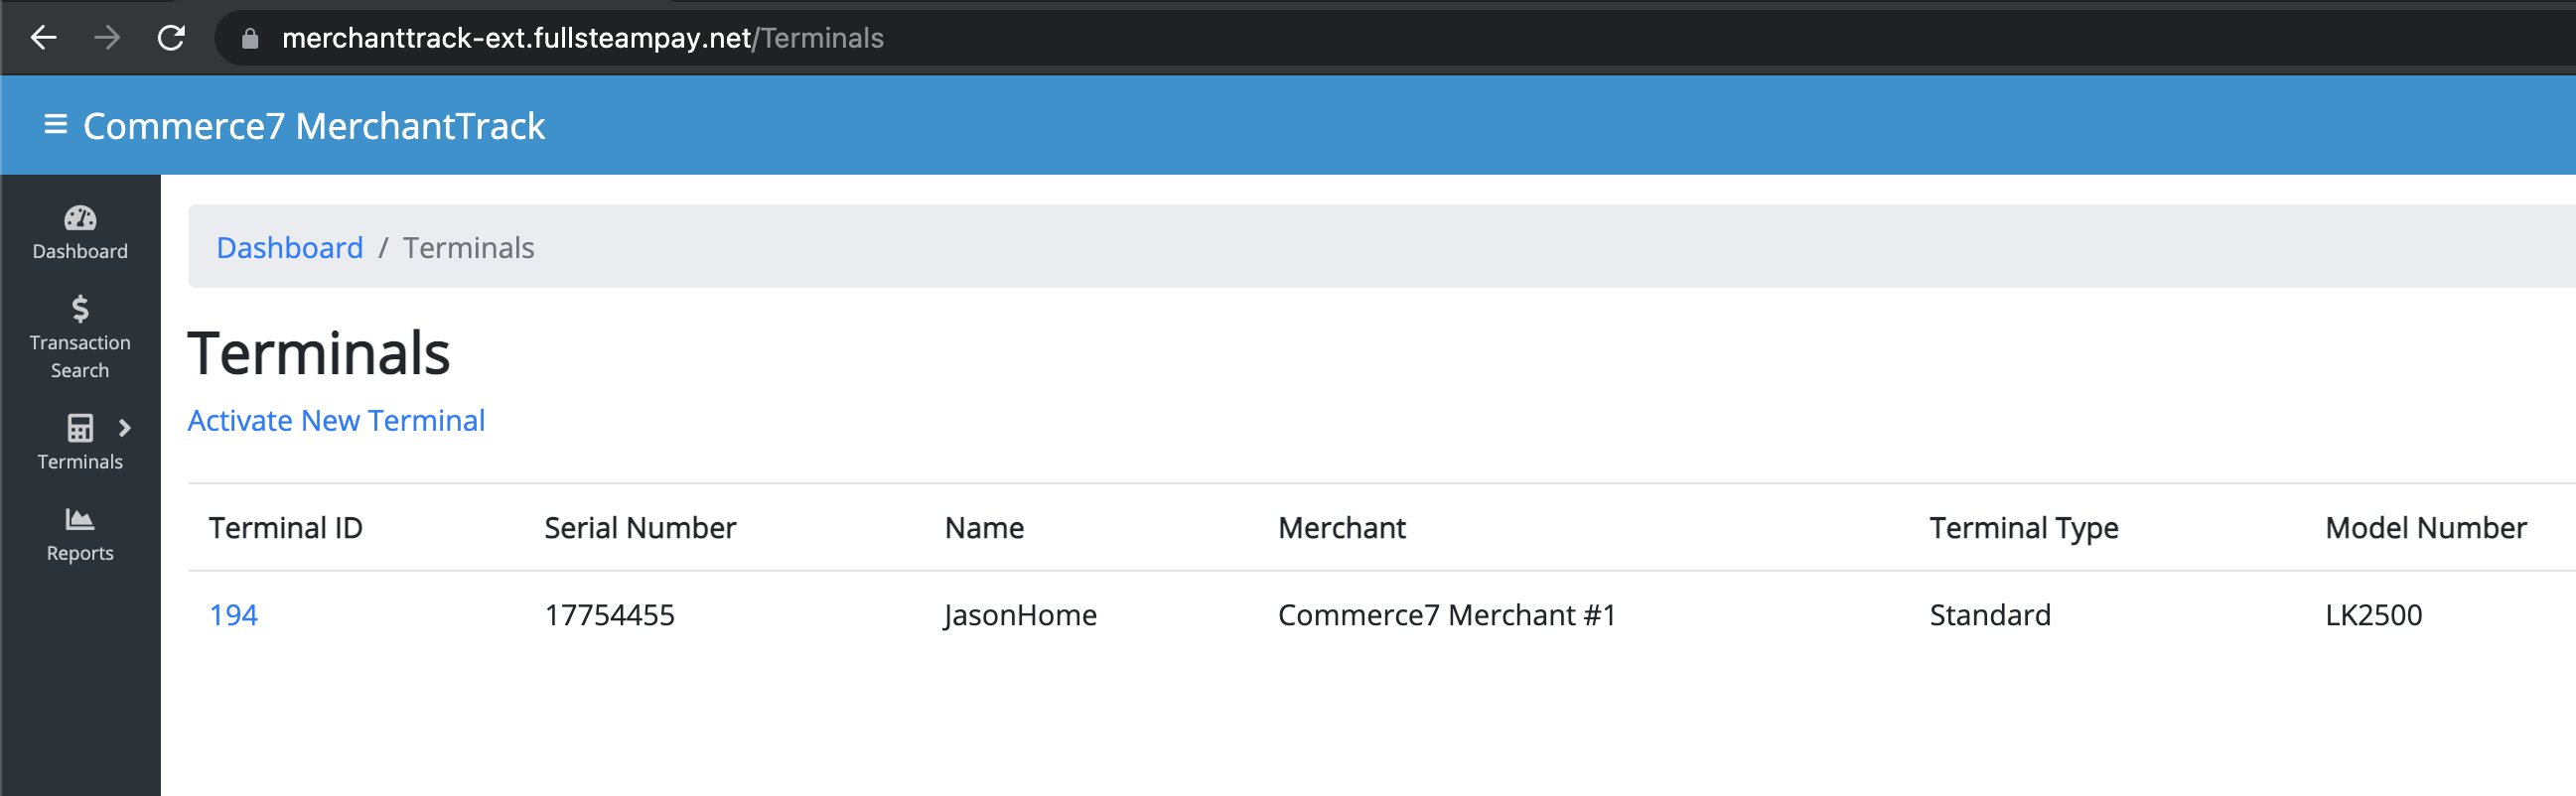
- Then you will see the Terminal ID to enter into Commerce7 below.
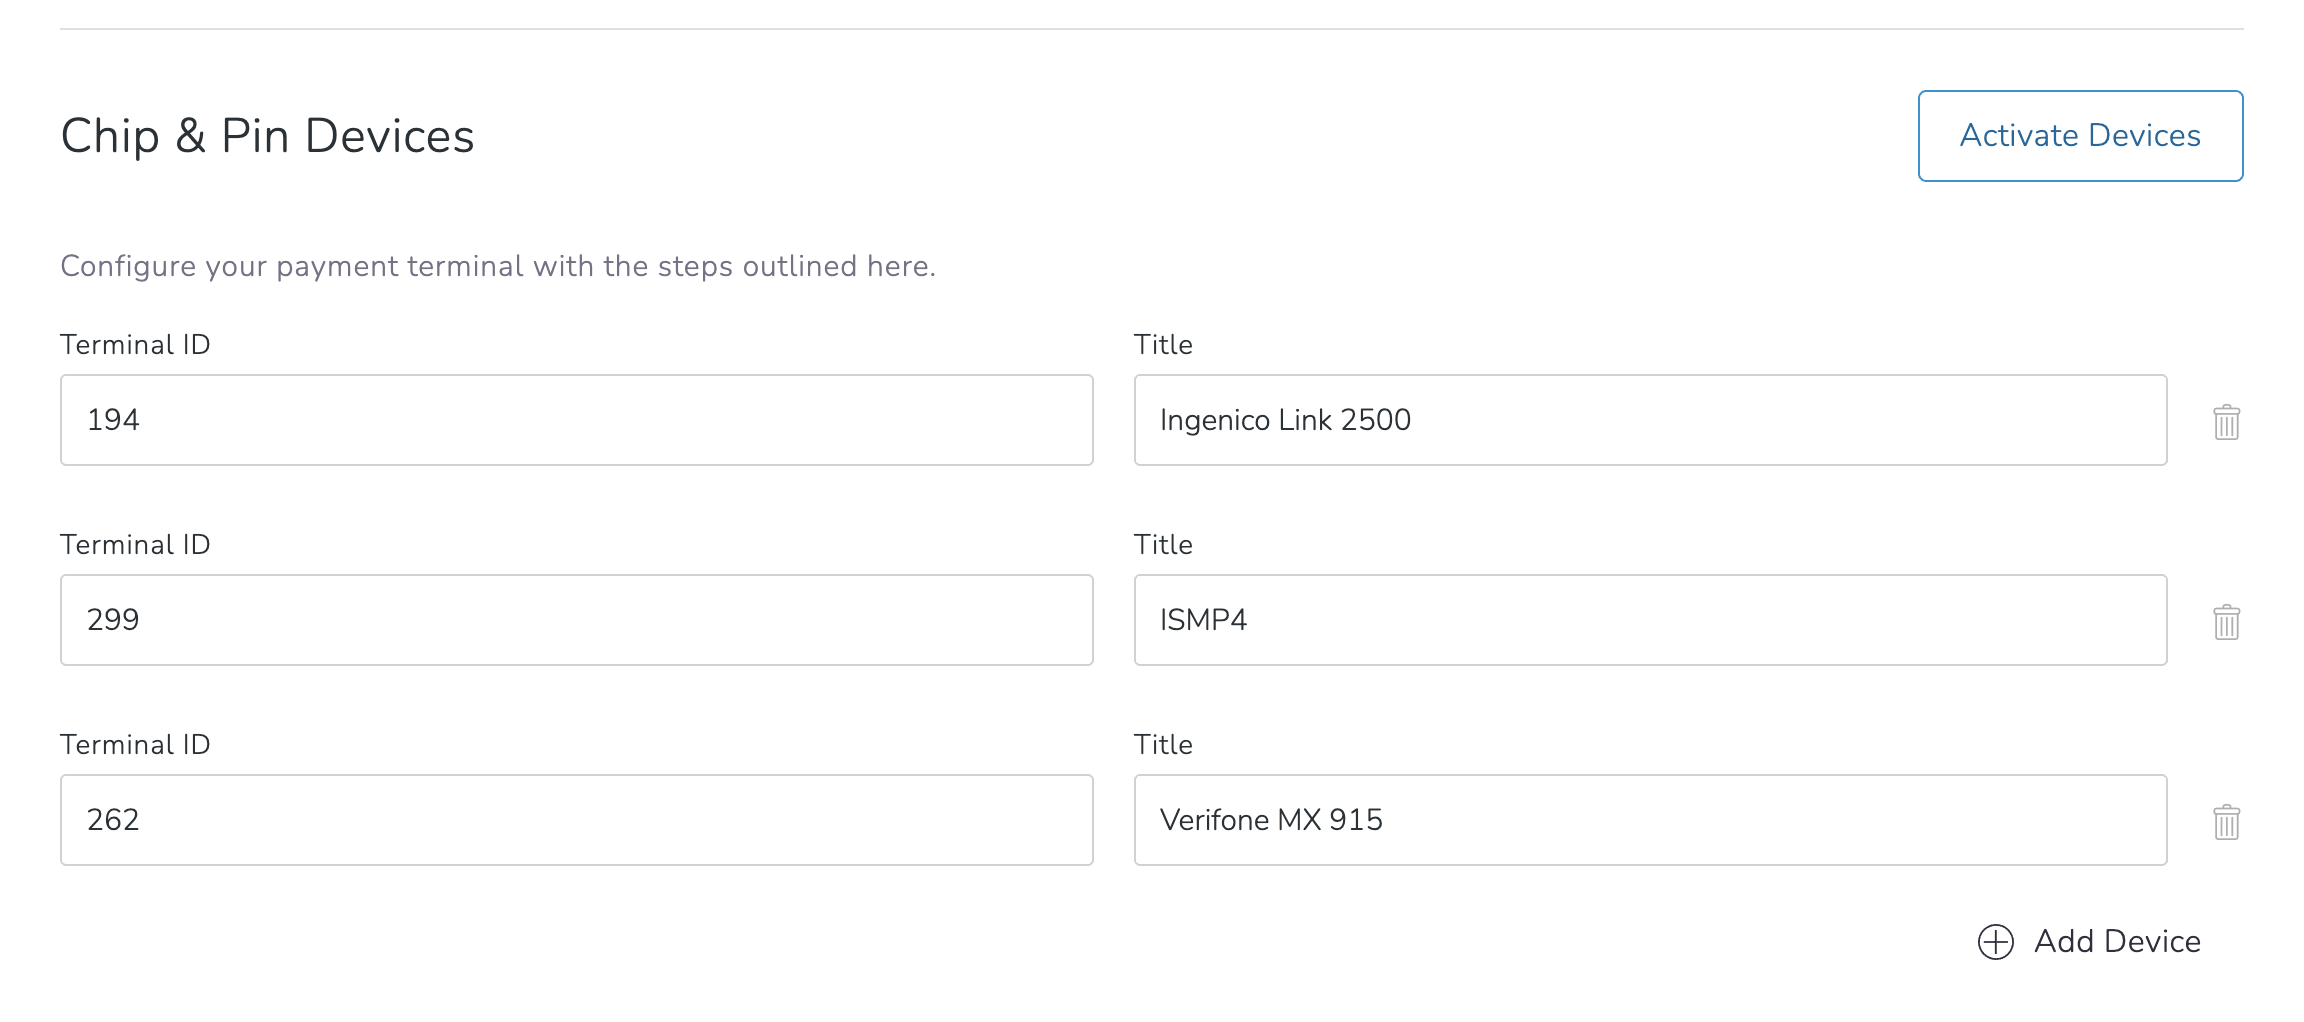
- Write down the Terminal ID(s) from above and click back in your browser to get back to Commerce7 Pos Profile > Chip and Pin Devices and enter the Terminal ID(s), the Title is the name displayed in the POS when selecting the terminal. If you have more than 1 terminal click Add Device to add additional terminals.
- Wait as your device will begin downloading a few items for a couple of minutes to complete device configuration and eventually go to the TriPOS screen, at this point your device is ready to accept payments.
-jpg.jpeg)
Sending transactions to the Verifone Mx915
- Once you have the Ingenico Verifone Mx915 setup, when you click Quick Pay or Pay on an order in the POS, you'll see an option for EMV
- Click EMV
- If you have multiple devices configured, you'll be able to select which you want to send the order to.
Currently, if you are integrated with both Fullsteam Payments and Stripe you will see the option to Process with Stripe but this will not send the transaction to the Ingenico Link 2500 terminal. EMV has to be selected to send the transaction to the terminal.
Disconnecting Merchant Track (for troubleshooting purposes)
Sometimes we will recommend that you remove and re-add your device to your Merchant Track account and POS Profile. Here's how:
-
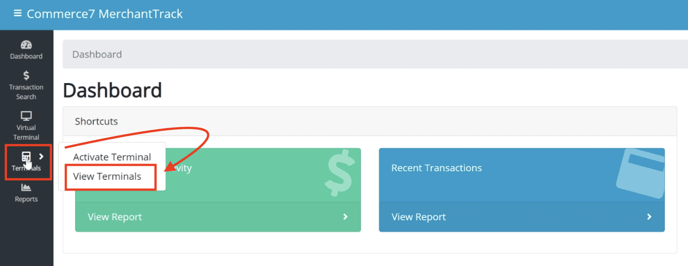
- Access your Merchant Track Dashboard
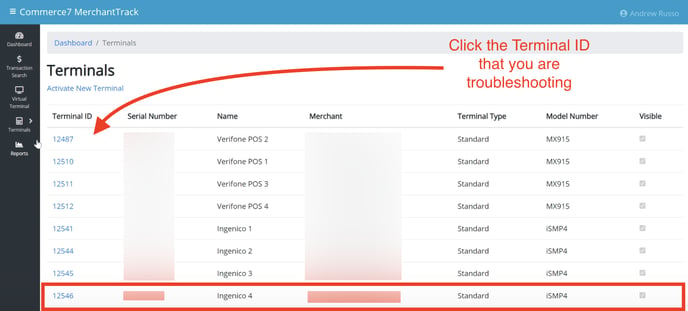
- Go to Terminals > View Terminals.
- Click the Terminal ID that you are troubleshooting.
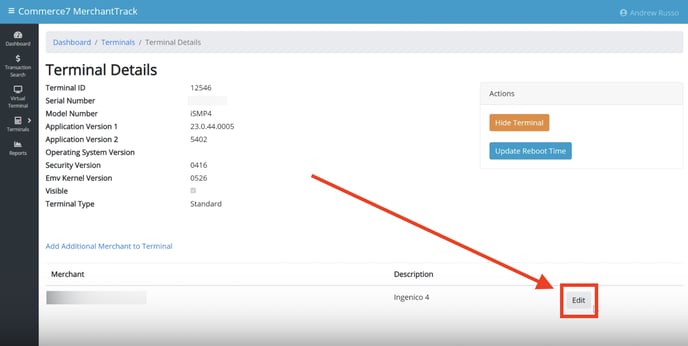
- Click Edit in the bottom right.
- Click the Remove button.
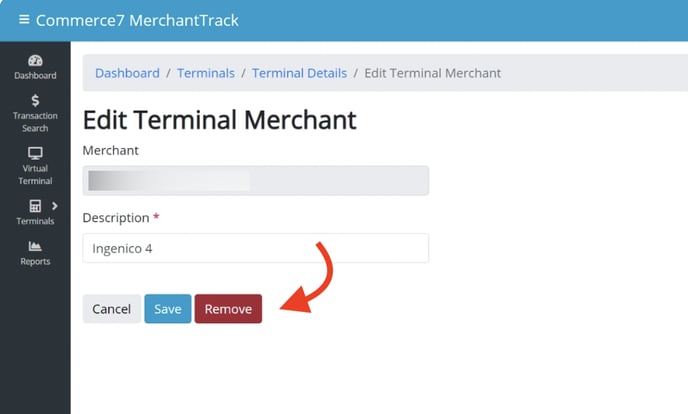
Now that it's removed, begin the device setup process from the top here.