Create a Rebate Product (credit) that can be added to an Order. Example: Crediting a Customer's tasting fee when they purchase wine.
How Rebate Products Work
Where can Rebate Products be used?
- Admin Orders
- POS Orders
- Club Packages
How are Rebate Products calculated in the Order?
- Rebate Products do not count toward calculating Coupons based on minimum quantity or dollar amounts.
- Rebate Products cannot be discounted with a Coupon.
- Rebate Products apply to the subtotal on an Order before taxes. Once the Rebate is applied the taxes will adjust.
Setting up a Rebate Product
Setting up a Rebate Product
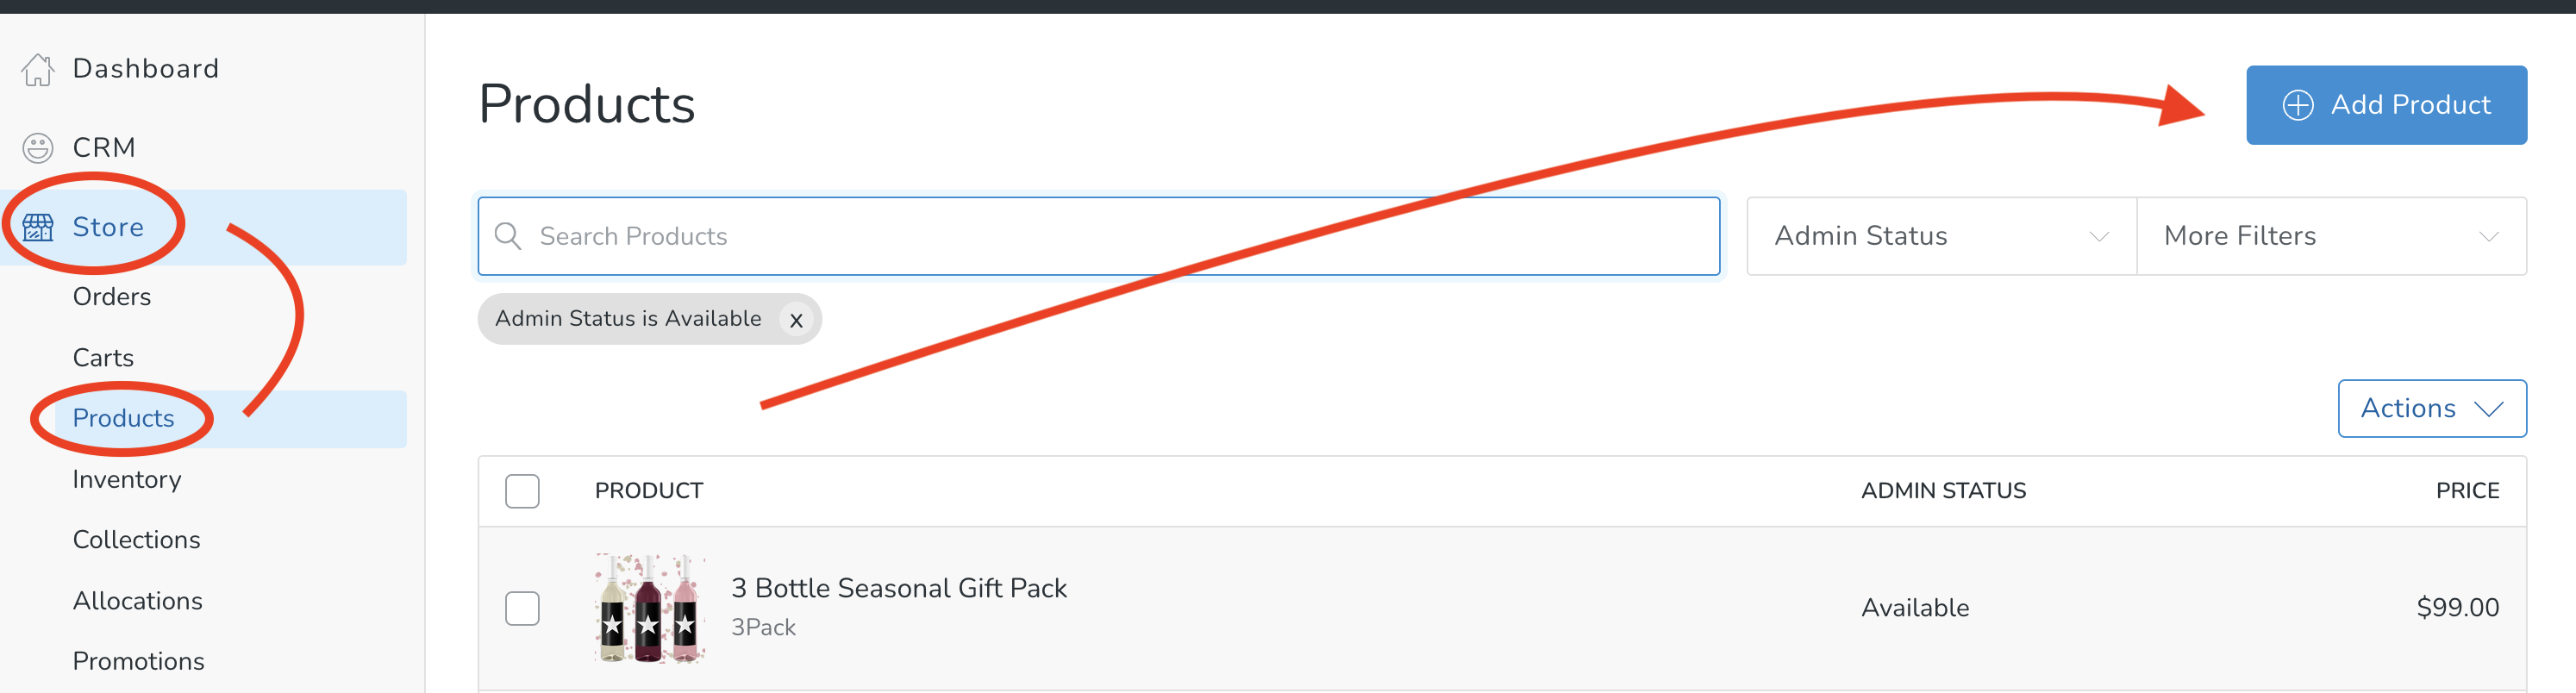
- Go to Store > Products > Add Product button.
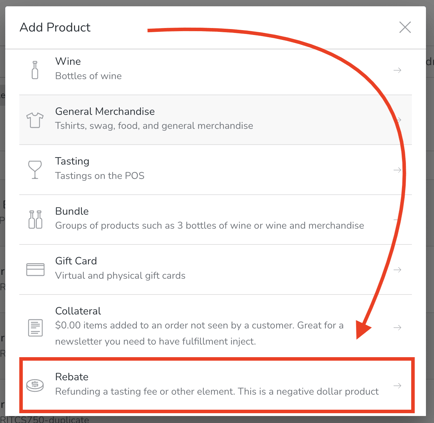
- Select Rebate Product Type.
- Enter the following configurations:
- Title: Add the title of the product - for this example we are creating a 'Tasting Credit'.
- Subtitle: Not needed (this Product will not be used on the website).
- Teaser: Not needed (this Product will not be used on the website).
- Content: Not needed (this Product will not be used on the website).
- Photo: Upload an image for this product. (Optional - it will only be visible to Admin/POS Staff)

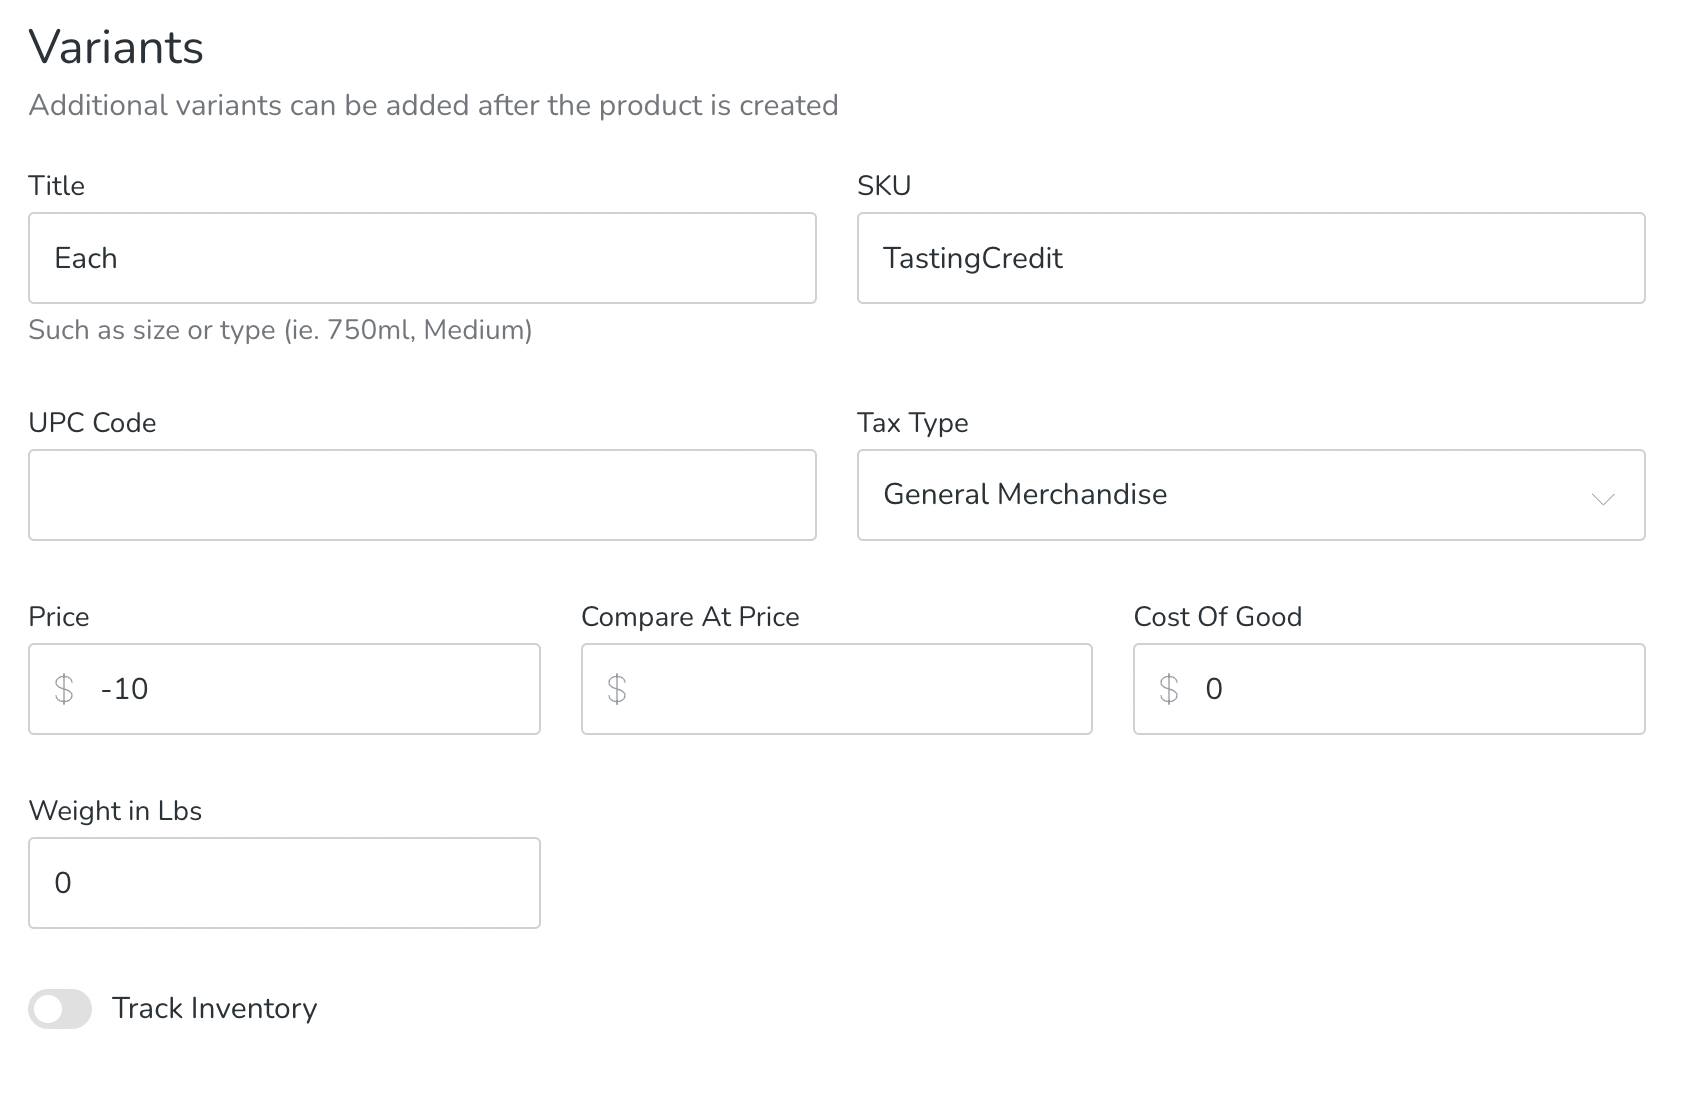
- Variant Title: Enter the variant Title (i.e. "Each").
- SKU: Enter the SKU (if you're integrated with ShipCompliant, your SKU in Commerce7 must match with your SKU in ShipCompliant exactly).
- UPC Code: Not applicable.
- Price: Enter a Negative dollar value for price. In this example, tastings are $10 per.
- Compare at Price: Not needed (this Product will not be used on the website).
- Cost of Good: Enter $0.00
- Tax Type: Choose General Merchandise.
- Weight: Enter '0'.
- Track Inventory: Leave toggled off.
- In the Right-hand Column, configure the following:
- Admin/POS/Club Status: Choose Available.
- Manual Collections: If using manual Product Collections to assign Products to Collections on POS, choose the Collection that you want your Product to be displayed on and click "Add". Note: A Product can be displayed on multiple Collections. Learn more about Collections here.
- Security: Products can be secured to Club, Tags, Allocation or Loyalty Tiers. For more information about how securing a Product works, click here.

- On the Advanced Tab, configure the following:
- Department: Choose the Department that your Product belongs to. These are set up under Store > Departments. Learn more about Departments here.
- Product Template: Not needed (this Product will not be used on the website).
- Once you are finished select Save Product.

- Now you'll be able to add this Product to any Admin Order, POS Order or Club Package.