Registering Stripe Terminals (Card Readers)
Register a new BBPOS WisePOS E Stripe Terminal, learn about Tips and Cancelling Transactions
In this Article
Register the new BBPOS WisePOS E terminal in the Stripe Dashboard
If you have a cradle for the Wise POS E, do not plug in the Ethernet cable if you plan on using the terminal on Wifi for mobile use. You can use still use the cradle for charging only and setup the terminal to use Wifi.
The Stripe terminal must be on the same Wifi or local network as the POS computer/tablet you are using to send to the terminal.
DNS must permit inbound IP address resolution see details:
https://documentation.commerce7.com/troubleshooting-stripe-terminal-connectivity
The simplest way is to add your reader in the Stripe Dashboard.
- If you’ve already created a Location, click on it. Otherwise, create one by clicking + New.
- A location is simply a name for where this terminal will be located. Most wineries will just have a single location, you could call it TastingRoom.
- Under the Readers section, click + New.
- On your reader, enter the key sequence 0-7-1-3-9 to display a unique registration code.
- Enter the code when prompted, and type the label, which is the name of the reader that will show in Commerce7.
Note: Do not add the Stripe terminals to the POS profile. Stripe terminals will automatically show up in the device list below after adding them to your Stripe Dashboard.
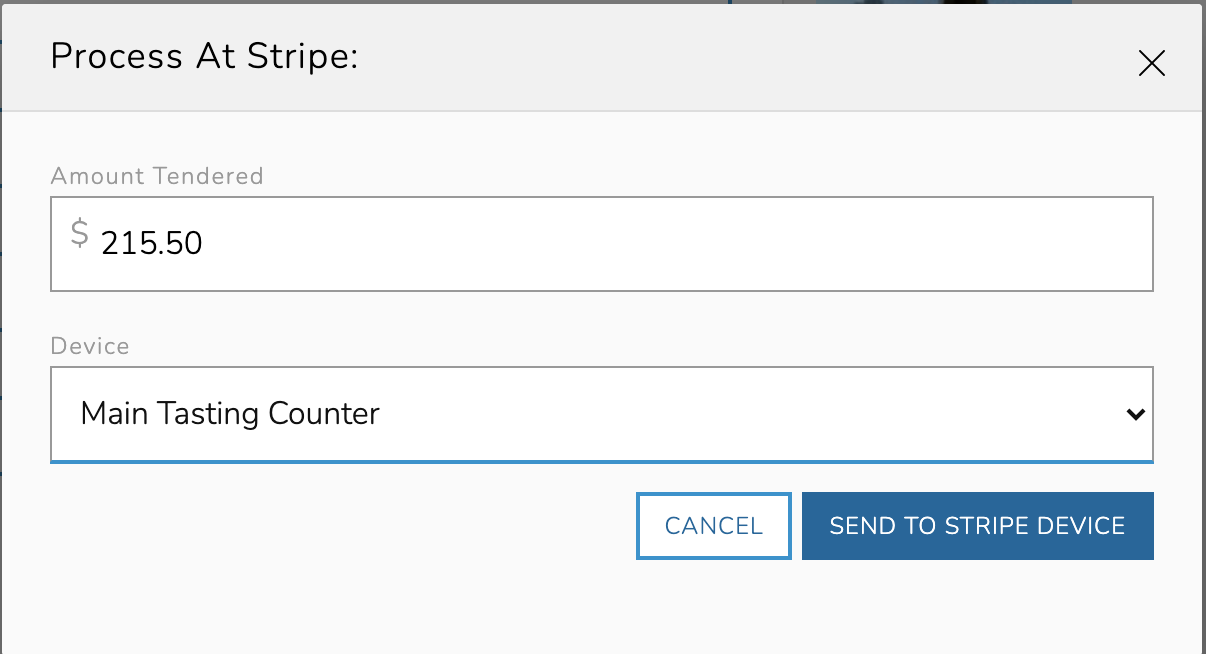
Now in the Commerce7 POS you will see the new reader show up as an option in the dropdown when charging an order.

Tips
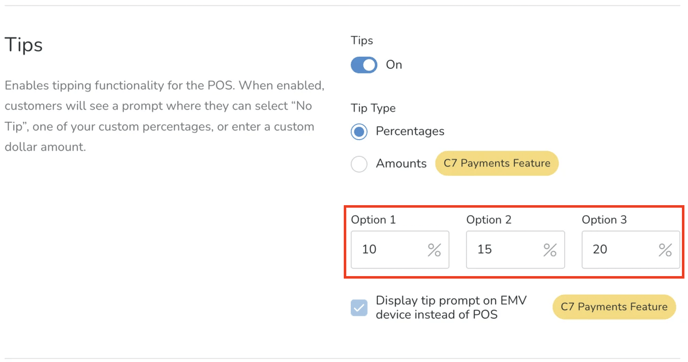
If you have Tipping enabled in the POS Profile, the Tipping prompt is sent to the device along with the transaction. The POS Profile is also where you will define the default tip percentages for your Customers to choose from. Learn how to enable/configure these settings here.

Cancelling a Transaction
To cancel a transaction on the Stripe BBPOS WisePOS E card readers, you can do one of the following:
- Wait for it to timeout...OR
- Press the button on the right side of the device, it will take about 45 seconds and then you send another transaction to the device.
