Personalizing your consumers online experience has a ton of benefits. You increase your conversion rate, average order size, and the number of spontaneous purchases consumers make. Personalization can even help with turning first time consumers into repeat buyers.
Personalizing the online shopping experience you provide consumers is easy on Commerce7 - but you will need your designers help. In these instructions, Step 1 and 3 are for designers. Step 2 is for Commerce7 users.
These steps are intended for designers for the initial and final setup for Personalizations. If you are a winery, please have your designer read through this guide to assist with set up and have your Personalizations display on your website.
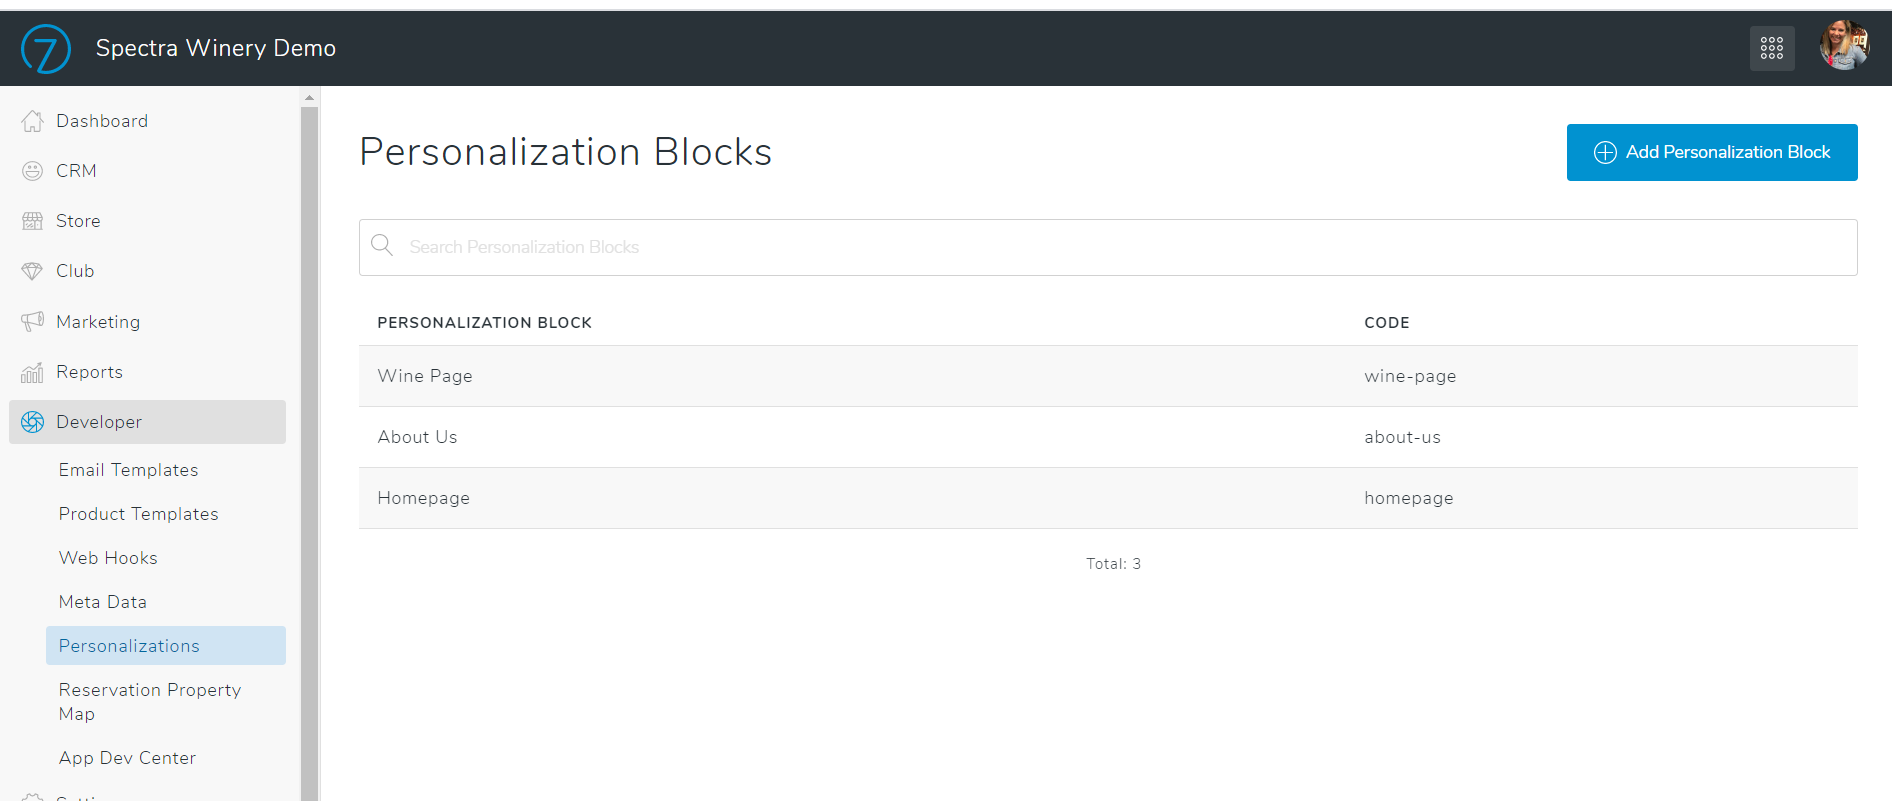
1. Create a Personalization Block
Before any personalized content can be added, a Personalization Block will need to be created for each "area" that you want to display customized/personalized content. ie. "Homepage Banner", "Footer".
- Go to Developer > Personalization Blocks
- Click Add Personalization Block
- Add a Title
The title is for internal purposed only and will not display to customers.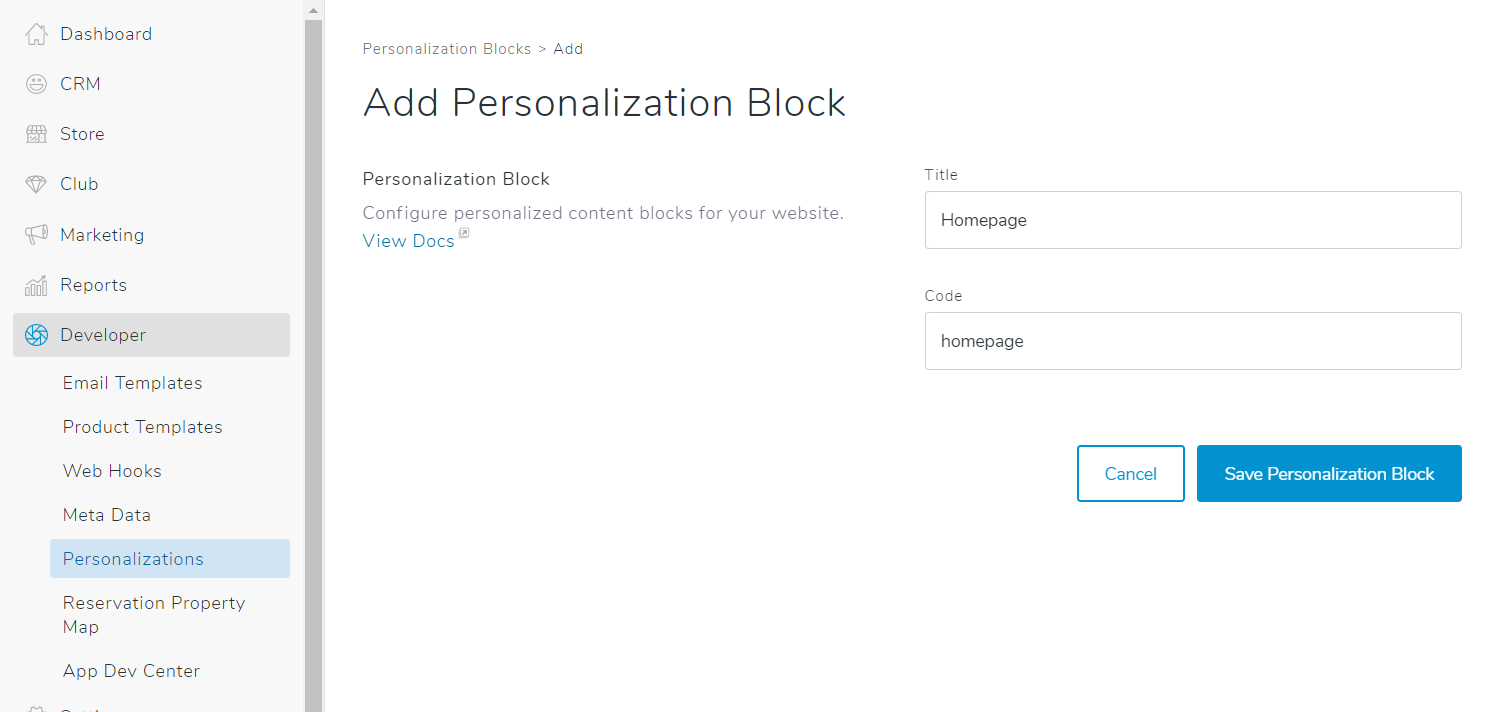
- Add a Code
This will be used for the widget to display the content on the website. Note that once the code is created, it cannot be changed.
2. Add the Personalization Block to the website
Now that your Personalization Block is setup, you just need to add the widget to the website where you'd like the content to display. View instructions on our designers docs here.
3. Add Content to the Personalization Block
For each Personalization Block that you've set up, wineries will be able to add content and criteria to target it to their customers under Website > Personalizations. Read the guide about setting up Personalization content here.