IMPORTANT
If you also use C7's Reservations feature, It is important to note that assigning a Table to a POS Cart does not create a Reservation or reserve a Table in the Reservations module.
It simply serves as a notation to help staff and servers easily identify the source of an Order.
Assigning a Table to a POS Cart
- Go to Settings > POS Profiles.

- Choose the applicable POS Profile.

- Scroll down to the Advanced section.
- Confirm that Table Management is toggled On and Save.

- Now, head over to the POS and begin a Cart.
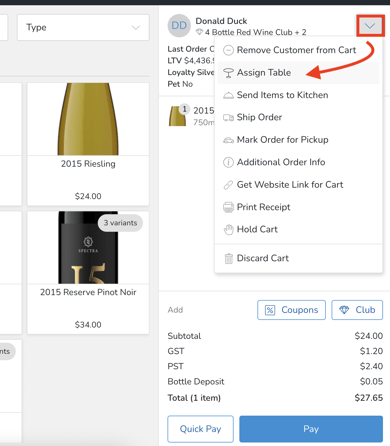
- In the POS Cart, click the down-arrow in the upper right.
- Choose Assign Table.
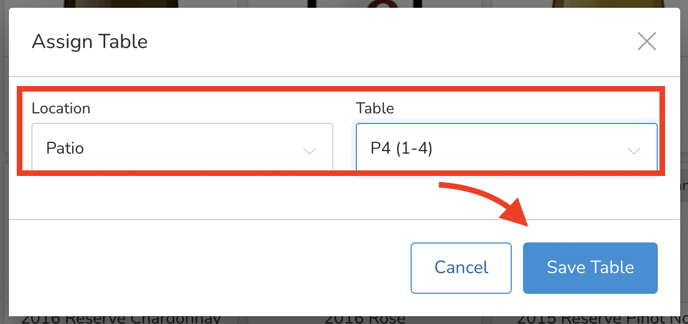
- In the pop-up modal, choose the applicable Location and Table and Save.
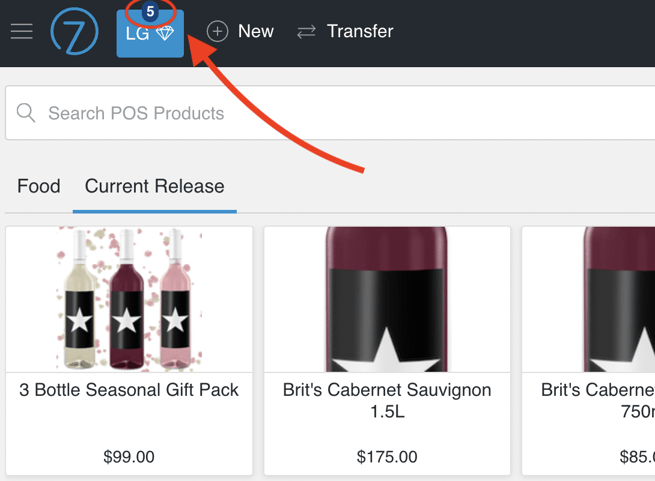
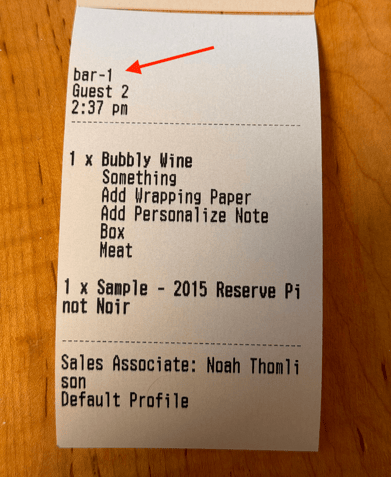
- Now you will see the Table name (or number) reflected at the top of the POS screen and on any associated Kitchen Ticket. (Learn how to assign a number to a Table here).
- The Table Name (or number) will also be reflected on the Kitchen Ticket:
-
It is important to note that assigning a Table to a POS Cart does not create a Reservation or reserve a Table in the Reservations module.
Instead, it serves as a notation to help staff and servers easily identify the source of an Order.
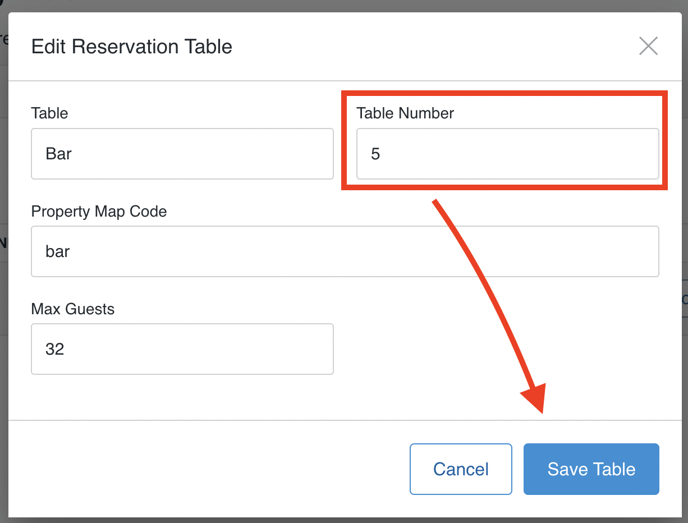
How do you Assign a Number to a Table?
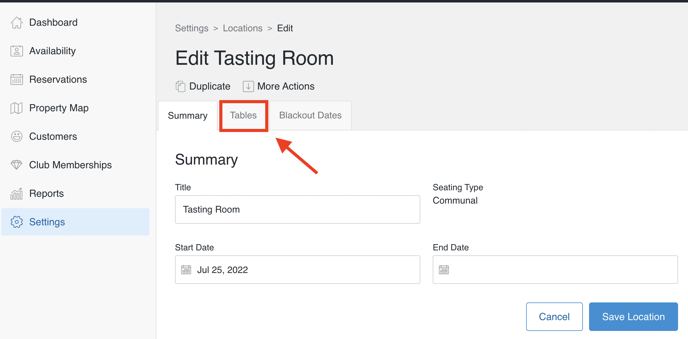
- Go to Reservations > Settings > Locations.

- Click on the Tables tab.
- Click the Edit link.
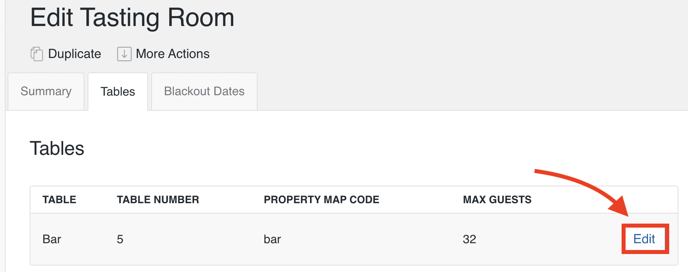
- Enter a Table Number and Save.