In this Article:
Note the following Network Requirements:
- Minimum Internet Speed recommendation of 5Mbps (Learn more here about WiFi requirements).
- Most standard consumer or business firewalls permit all outbound traffic as a default, in this case no changes are required and the steps below will just work. If you have a managed firewall or enterprise firewall you need to ensure specific ports at the bottom of this page are enabled for outbound traffic. If you follow the terminal setup steps below and it does not work please verify your firewall permits the ports at the bottom of this page.
What's in the box?
- PAX A920Pro Device
- Charging cable (USB-A to USB-C)
- USB-A Charging block
!! Never Factory-Reset this device !!
Doing so deletes all Fullsteam configuration and invalidates your warranty.
If you'd like to set up a Zoom call to walk you through set up - please send us an email at support@commerce7.com!
Configuring Wifi
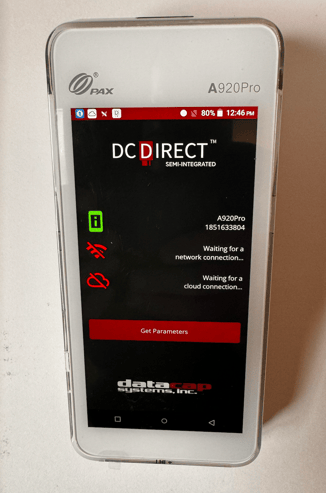
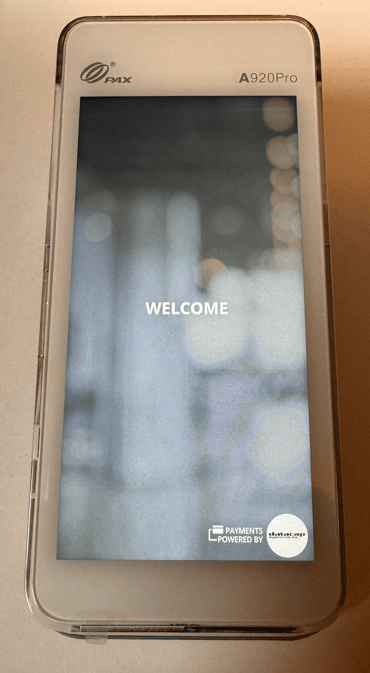
- Power up the device (button on right side of device) and you'll see this screen.
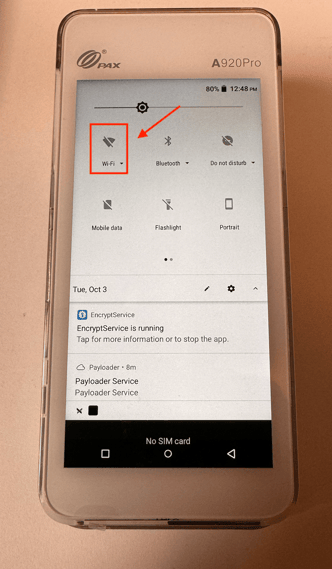
- Swipe from top to bottom, two times.
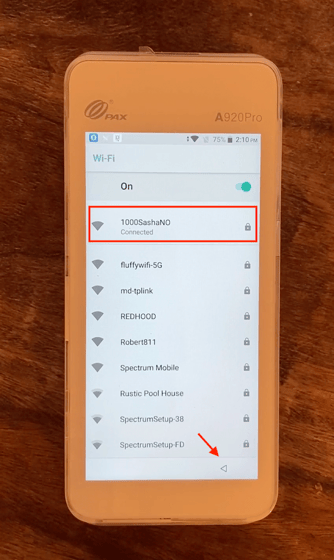
- Click the down arrow under the wifi symbol to open up the screen.
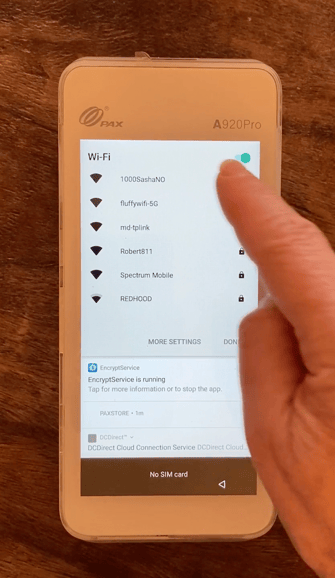
- Choose the correct wifi network from the list.
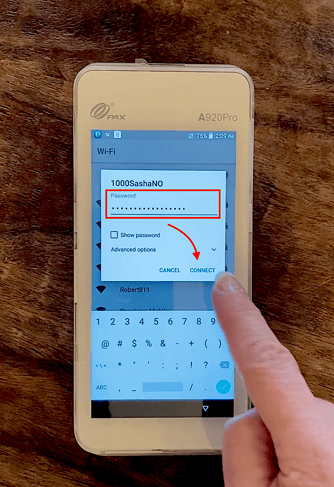
- Enter the Password and click Connect.
- Now you'll see that the WiFi is connected.
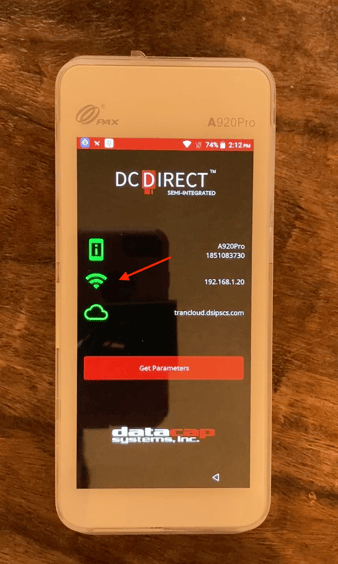
- Click on the back arrow at the bottom of the screen to get back to the main Configuration screen.
- You should now see a green WiFi symbol - meaning that it's connected.
Activating the Terminal
- Before beginning these steps, it's important to confirm that your phone number is entered into your Profile.
- Click on your Profile icon in the upper right corner of Commerce7.

- Click the Edit link beside your name.

- Scroll down to the Phone number section. Enter a number and save.

- Click on your Profile icon in the upper right corner of Commerce7.
- Now, head over to Settings > POS Profiles, select a Profile.
- Scroll down to Chip & Pin Devices and click Configure Device.
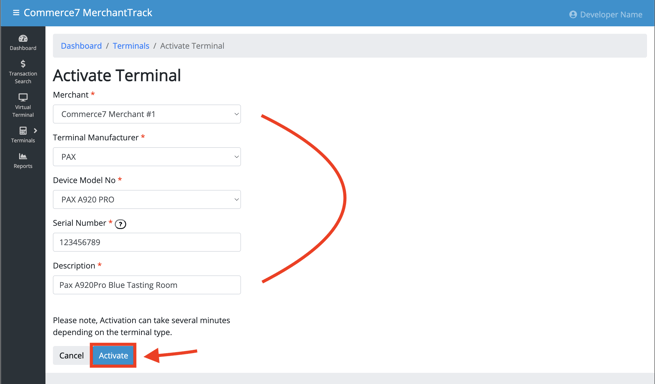
- Clicking the button will take you to Merchant Track > Terminals > Activate Terminal.
- Select PAX for Terminal Manufacturer (If it's not showing reach out to Support)
- Select the Model.
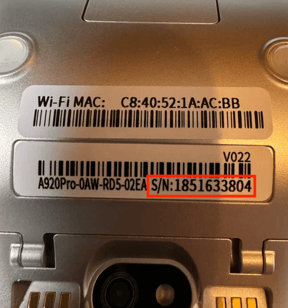
- Enter the serial number. (Found on bottom of device)
- Enter a Description so you can identify the terminal location.
- Click Activate.
- Copy the Terminal ID as you will need to enter this into Commerce7. (The Terminal ID in the screen shot is 194).

- Go back to your Commerce7 POS Profile (click back in your browser)
- Scroll to Chip & Pin Devices
- Title: This is the name that is displayed in the POS when selecting the Terminal.
- Terminal ID: Enter the Terminal ID from Merchant Track (above).
- Type:
- PAX A920Pro: Choose if you want the ability to print from the PAX A920Pro device.
- Other: Choose if you do NOT want the ability to print from the PAX A920Pro device.
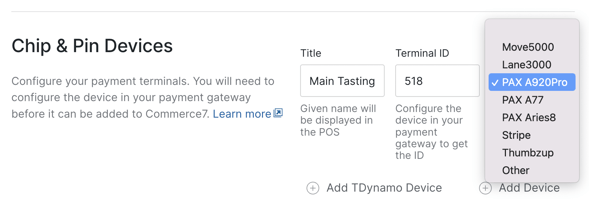
- If you have more than 1 Terminal to enter, click the Add Device button to enter additional Terminal IDs.
- Scroll to the Tips section on this same page.
- Enter a value in the Option 4 field.

- Click the Save button either at the top or the bottom of the screen.
- Wait a few minutes for your device to complete configuration. It may reboot during this process. Next, you'll see the "Welcome" screen.
- Touch the corners of the device screen in the following order (when a touch is recognized, the device will beep):
- Upper Left
- Upper Right
- Lower Left
- Lower Right

- Enter the following Password: "pax12345"
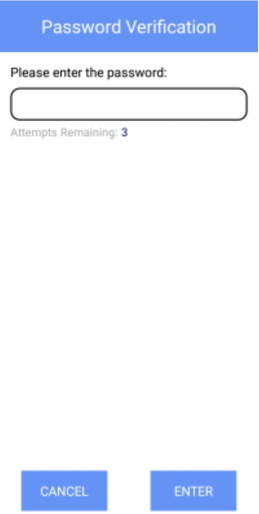
- Press the green checkmark on the keyboard and Enter.
- Select 'Host/ECR Communication' from the Setup menu.
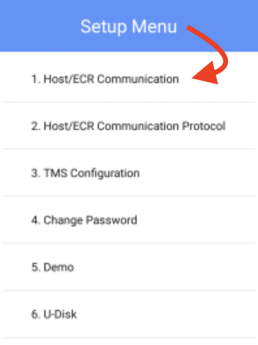
- Be sure that ONLY 'Ethernet' is checked. If USB or Serial are checked, please uncheck them - and Save.
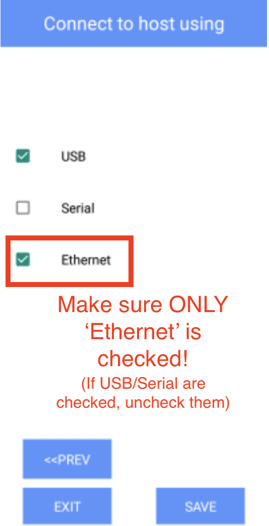
- After you've Saved, click the Exit button.
Workflow: Using the PAX A920Pro
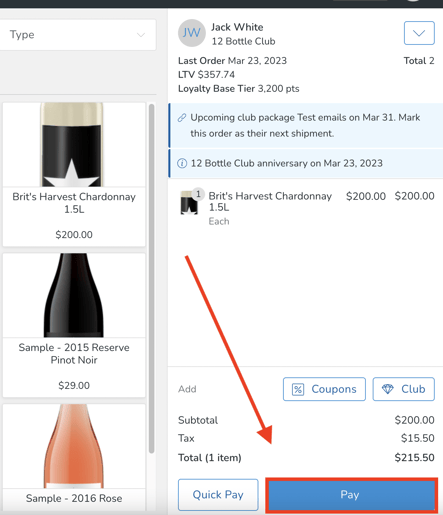
- When your Customer is ready to checkout, click the Pay button in your POS device.
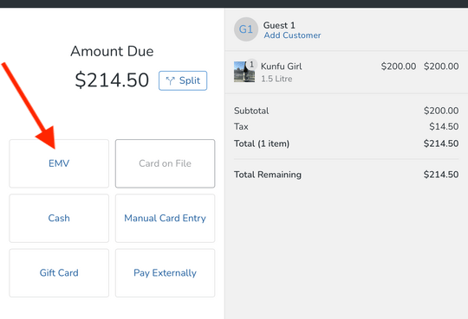
- On your POS device, click EMV button.
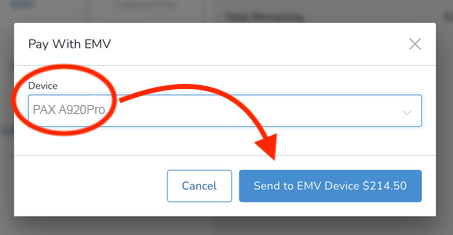
- Choose PAX A920Pro and click the Send to EMV Device button. You'll see a progress screen as it connects. (Note that the system will remember the last device that was used, so it will be automatically selected for you. In other words, you will not need to actively choose it each time).
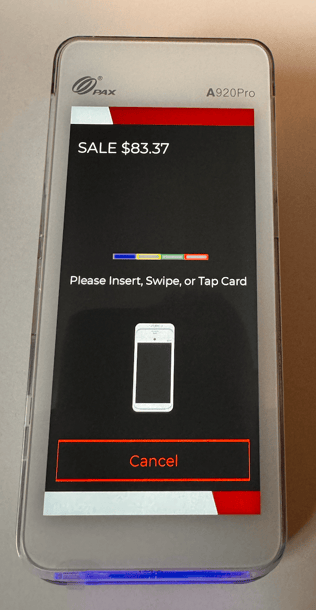
- This will bring up a Payment screen on the PAX A920Pro. Hand the device to your Customer so that they can choose an applicable tip (if they choose 'other', they'll be able to enter in a custom amount.


- Then the Customer will be prompted to insert, tab or swipe card.
- Back in the POS, you will be prompted to Print from the PAX device.
- When clicked, a receipt will be dispensed from the bottom of the PAX device.
.png?width=670&height=499&name=Pax-A20Pro-Print-Reciept%20(1).png)
Firewall Port information (if-needed)
Do you have a firewall?
Note: If you have a firewall ensure that the following ports are open to allow traffic on your firewall. Otherwise this device will NOT communicate correctly.
| Port | Domain |
| 9000 |
and |
Testing to confirm the ports are open
Run the following tests from Windows command prompt or Mac terminal to confirm these ports are open.
Port 9000 prod1.netepayhosted.dcap.com and prod2.netepayhosted.dcap.com
curl -vLI telnet://prod1.netepayhosted.dcap.com:9000
curl -vLI telnet://prod2.netepayhosted.dcap.com:9000
You should see this response:
* Trying 40.70.231.39:9000...
* Connected to prod1.netepayhosted.dcap.com (40.70.231.39) port 9000 (#0)
(note: the IP address may be different)
If there is no internet going to the device it does NOT give an error message - it will just show the triPOS logo. Make sure to verify the ethernet port is working by trying to connect the unit directly to your router, bypassing it and going to the modem, or plugging it into a wired port that you know is already working.
Switching WiFi Networks (if-needed)
- Swipe up from bottom on PAX A920Pro
- Tap the arrow twice
- Enter the password: pax9876@@
- Swipe down from the top two times
- Select Wifi in the top left and choose a network.
Troubleshooting
- What does the 'Terminal not found for merchant specified' error mean?
This error appears in the POS when an EMV device is selected and the Terminal ID entered in the POS Profile does not match an active Terminal ID in Merchant Track.
This can occur if the serial number is entered instead of the Terminal ID, if there’s a typo in the Terminal ID, or if the terminal has been removed from Merchant Track. To resolve, confirm that the Terminal ID in the POS Profile matches an active Terminal ID in Merchant Track.
!! Never Factory-Reset this device !!
Doing so deletes all Fullsteam configuration and invalidates your warranty.