Setting Up Facebook Login
Add Facebook Login to your website as a convenient login for your customers.
To add Facebook Login, you'll first need to take some steps with Facebook to create an App ID.
- To get started, click this link: https://developers.facebook.com/apps/
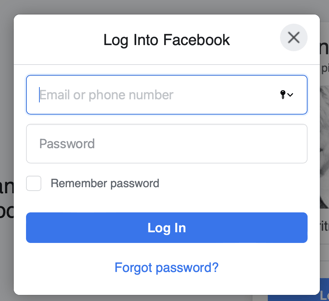
- If you are already logged into Facebook, you will be taken directly to the Developer app dashboard (go to Step 3). If you are not already logged into Facebook, you will be required to enter in your FB credentials first.
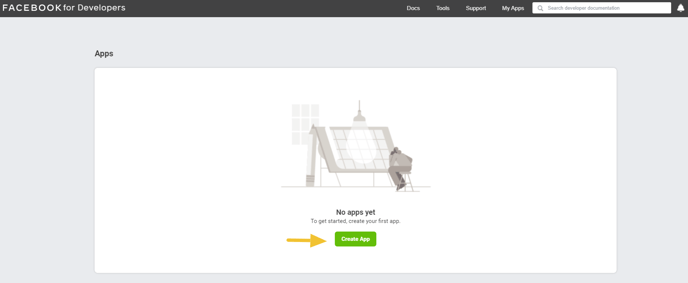
- Click the Create App button. (Depending on whether this is your first app, you will see one of two screens):

- You may/may not see this popup modal. If you do, simply click the Create App button.

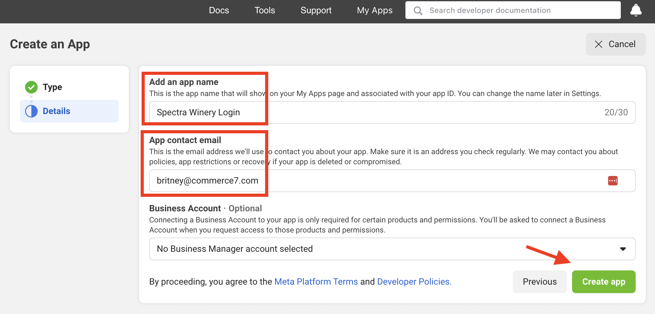
- App Name - This is the app name associated with your app ID (for instance, 'Spectra Winery Login').
- App Contact Email - this email address is used to contact you about potential policy violations, app restrictions or steps to recover the app if it's been deleted or compromised.

- Scroll to bottom of page and choose 'Other' and Next.

- Choose Consumer and Next.

- Next, enter the fields;
- App Display Name - This is the app name associated with your app ID (for instance, 'Spectra Winery Login').
- App Contact Email - this email address is used to contact you about potential policy violations, app restrictions or steps to recover the app if it's been deleted or compromised.
- Select No Business Manager Account selected with the drop down menu
- When you are finished, select Create App
- You will be asked to enter your Facebook Login Password to continue.
- Click the Setup button on the Facebook Login card.

- Next, select Web

- In Step 1 you will need to enter the site URL.
- To get your website URL from the Commerce7 Admin panel, navigate to Settings > General and copy and paste the Website URL into the Site URL field for the Facebook Login app.

- To get your website URL from the Commerce7 Admin panel, navigate to Settings > General and copy and paste the Website URL into the Site URL field for the Facebook Login app.
- Once you have entered the Site URL to the field, select Save and Continue

- On Step 2, simply select Next
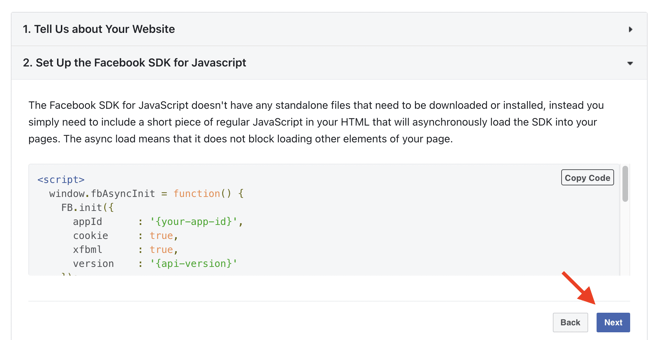
- On Step 3 scroll down to select Next again.
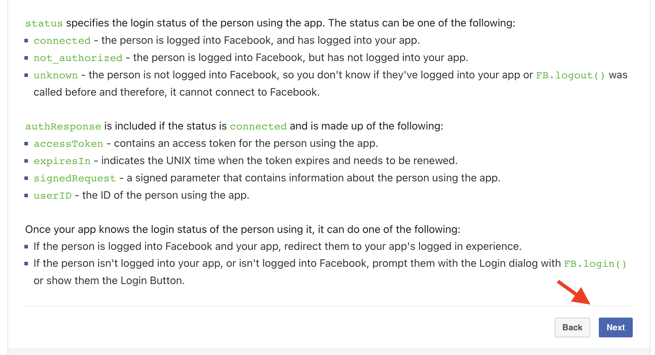
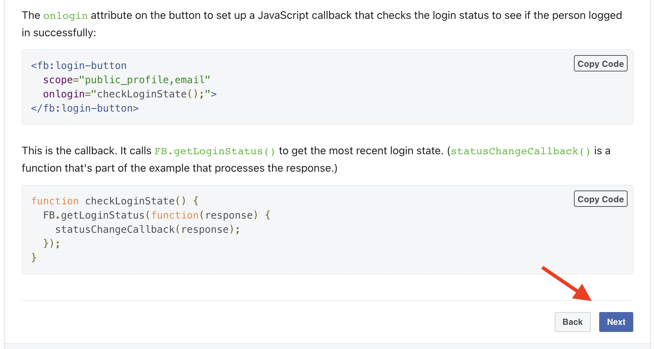
- On Step 4 select Next again.
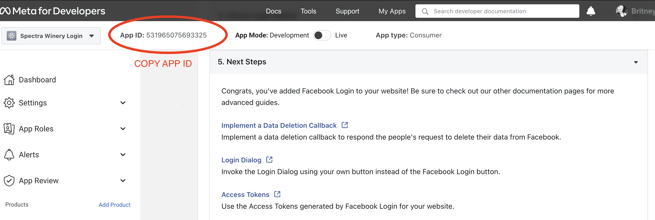
- From Step 5 at the top of the screen Click to Copy the App ID by scrolling over the App ID number.
- Now go back to Commerce7 Admin and select the Apps & Extensions tab.
- Click on the Extensions tab at the top of the page.
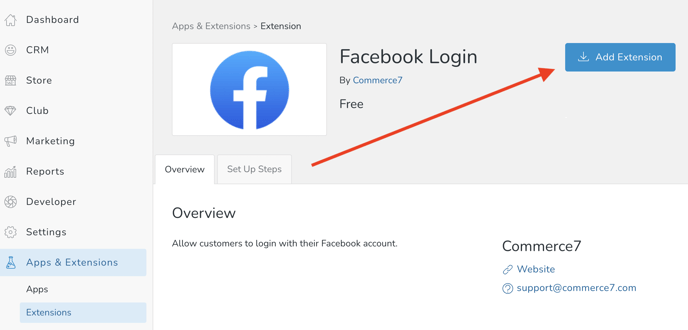
- Select the Facebook Login extension.
- Click Add Extension at the top right of the page.
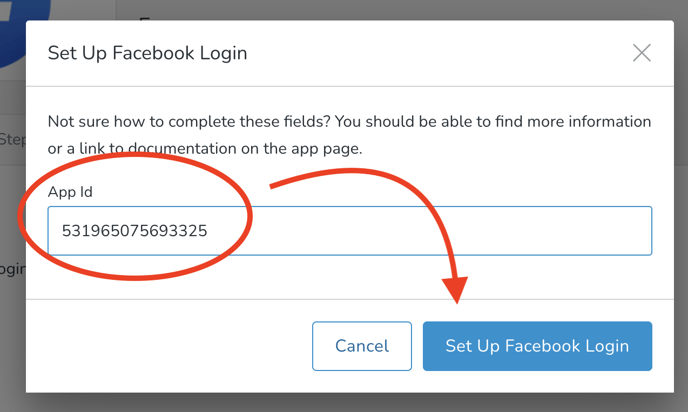
- A window will open where you can paste the App ID from your Facebook for Developers site.
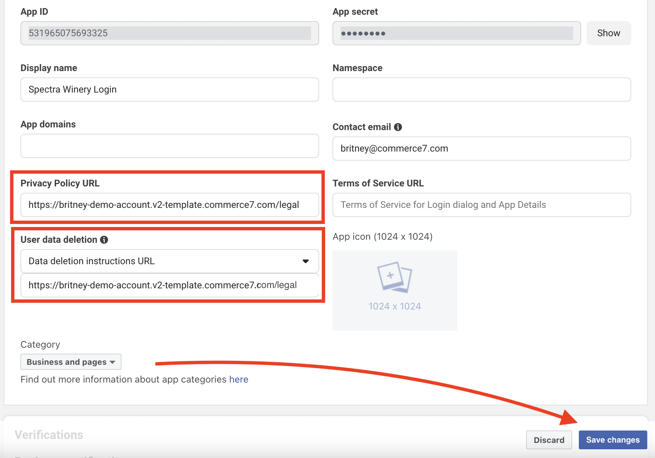
- Almost done! Back in Facebook, click on App Settings > Basic.

- On this page, in the Privacy Policy URL and User Data Deletion fields enter your website URL and add "/legal" to the end. Alternatively (if you already have an existing privacy policy), the URL simply needs to point to a publicly accessible page where your privacy policy is hosted.
- Under the Category section use the drop down menu to select Business and Pages. Save Changes.
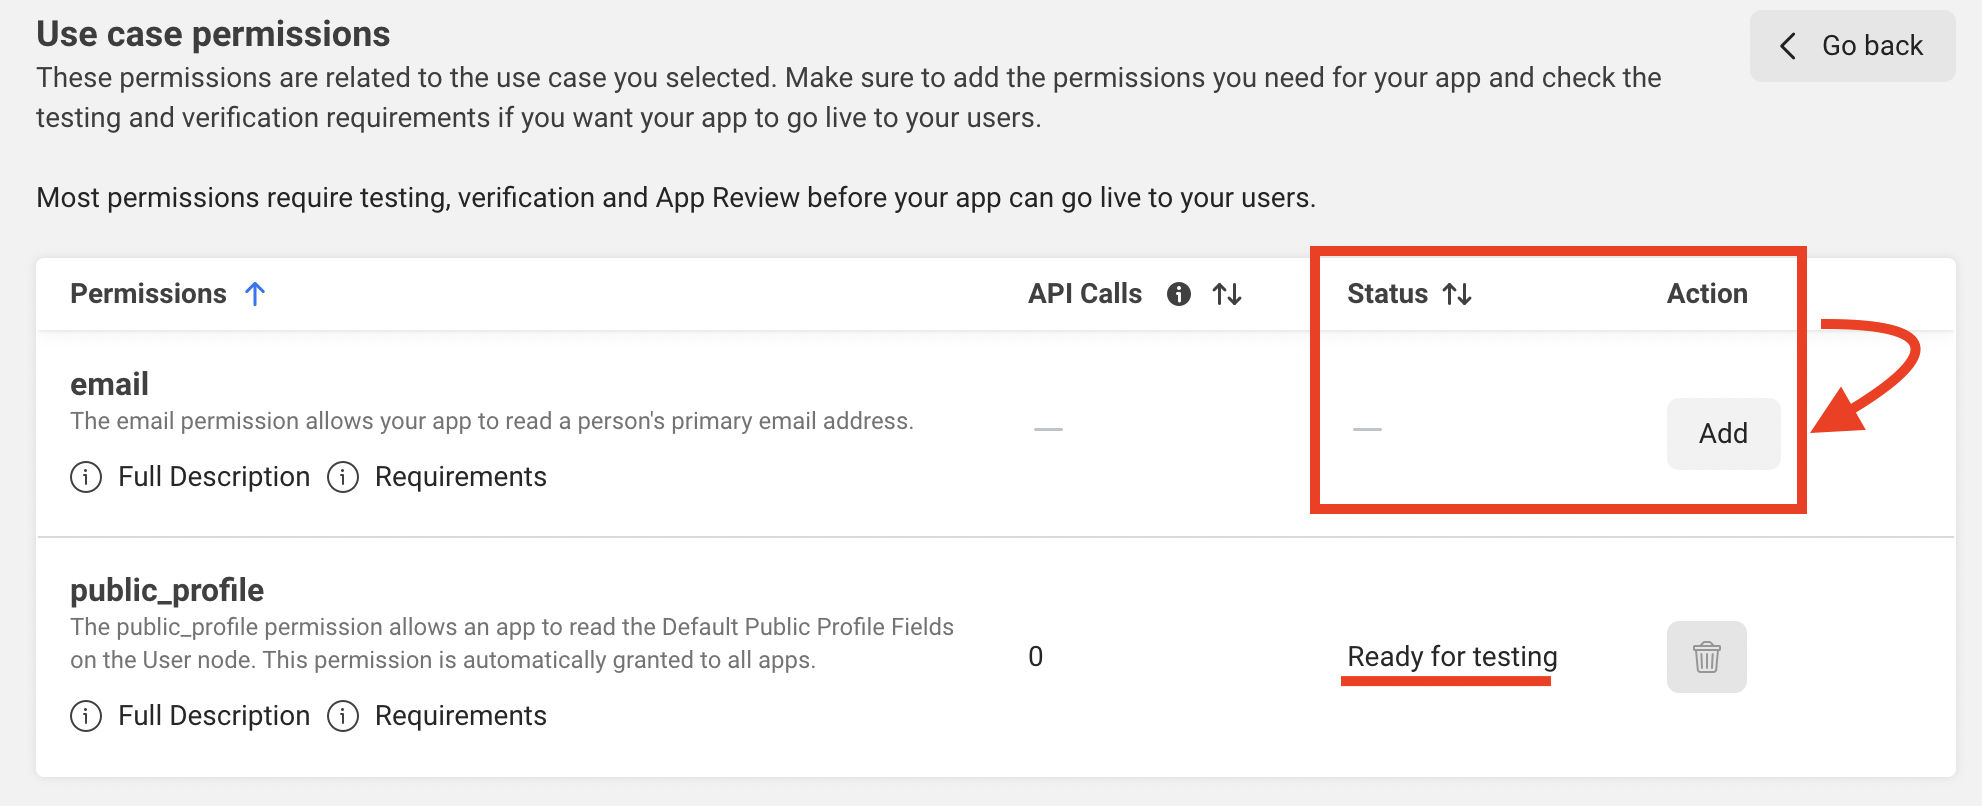
- Next, go to App Review and click on the Permissions and Features link.

- Click the Add button for the Email and public_profile sections. You want them both to be in 'Ready for testing' Status. (Note that if you see 'Request Advanced Access' instead of the Add button, that simply means that you need to verify your business with Facebook. Click on the Request Advanced Access button and then the Learn More link. Follow the steps to verify. Once you are verified, you'll be able to continue with the below steps).
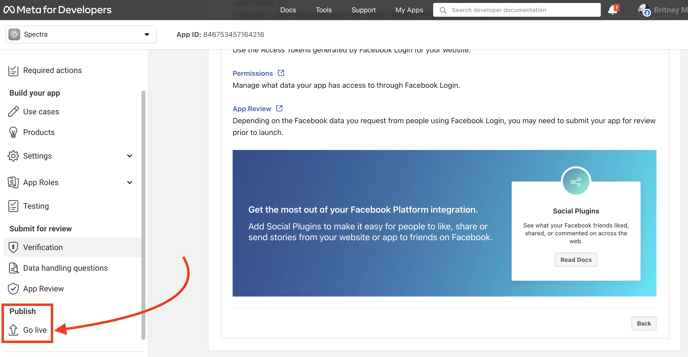
- Click the Go Live link in the lower left.
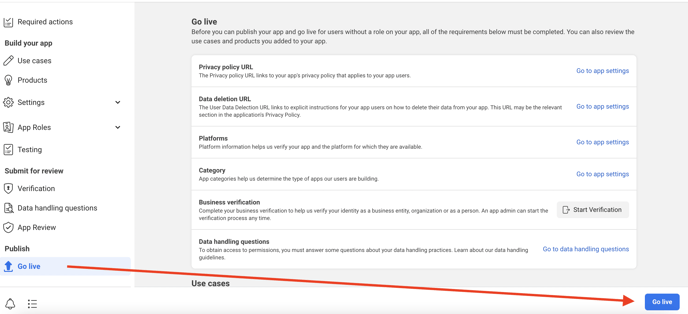
- Next, click the Blue Go Live button in the lower right.
- You should now see that it's in (blue) 'Live' mode at the top of the page.

- Your Facebook Login is now setup!
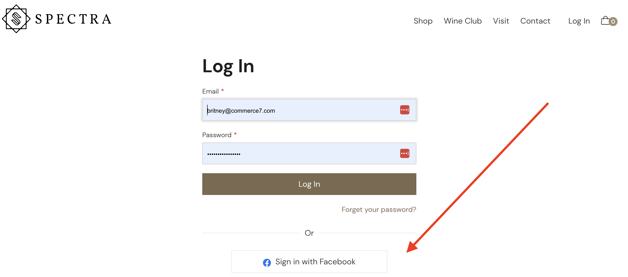
Test it out by going to your website, clicking "Login". It's a good idea to give it a quick test to make sure that it's working properly.
