Custom Allocation Custom Fields allows you to save additional information on each Allocation. This is typically used by developers to group or add additional information on the website.
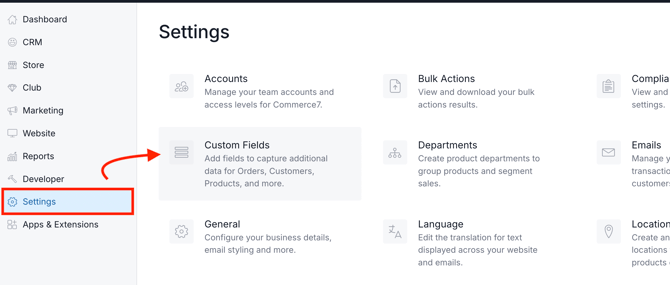
- To create an attribute for a Allocation, navigate to Settings > Custom Fields.
- Click Add Custom Field.
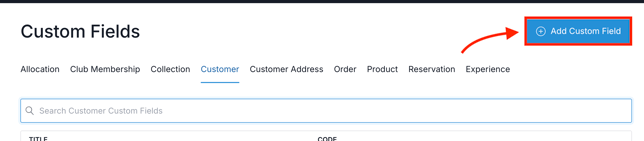
- Choose Allocation in the popup modal.
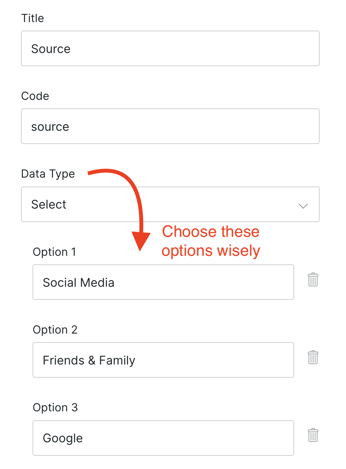
- Select a Title for your attribute. For an example: "Notes for Allocation".

- Code is just a reference point for doing API calls. You do not need to change this, but you can if you'd like.
- Next select your Data Type. There are 11 different data types available. For this example, we are using a Text Box. Learn more about the Data Types here.
- Decide whether or not you want your attribute to be a Required field. If it's required, it will need to be entered in order for the Allocation to be saved.
- Finally you can set the Sort Order. The sort order determines the order your attribute will appear in the Allocations Custom Fields tab.
- Click Add Allocation Custom Field when you're finished building your attribute.
- Now You can go over to an Allocation and test it out. Click on Store > Allocations > choose the allocation > Click the Custom Fields tab. You will now see the Notes text box.

Before You Save, Choose Your Option Titles Wisely!
If you have chosen a 'text' Data Type such as 'Radio', 'Checkbox', or 'Select', make sure to carefully select your option title. Once saved, if you later edit the title, you will only be able to filter using the new title.
FAQ
Can I re-order the Options after the fact? Yes! As long as the text matches, there are no issues with changing the display order.